
The Utho Blog
Explore expert insights, product updates, real-world stories, and cloud innovations designed to help developers and businesses scale with confidence.

Everything Cloud. One Search.
It is a long established fact that a reader will be distracted by the readable content of a page when looking at its layout.
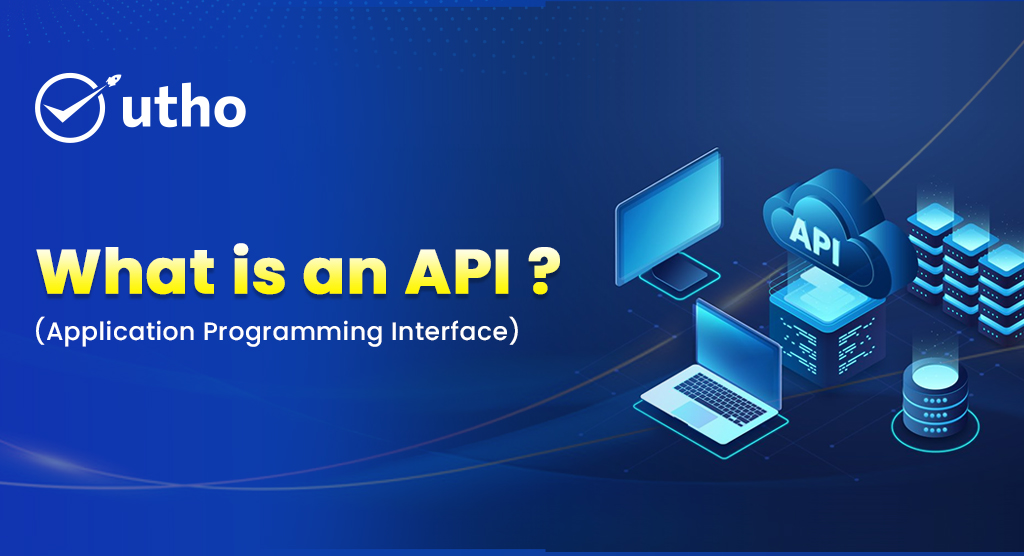
What is an API (Application Programming Interface)?
An Application Programming Interface (API) provides a format for software programs to communicate with each other through defined interfaces or…
January 27, 2026
by Umesh
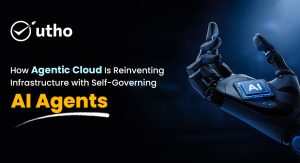
How Agentic Cloud Is Reinventing Infrastructure with Self-Governing AI Agents
January 16, 2026
by Umesh
Youtube Tutorial

Product Upcoming
Industry News

Podcast
Trust & Security
Security standards, compliance updates, and reliability practices you can trust.


The Role of Sovereign Cloud in National Security and Digital Independence
September 9, 2025
by Umesh

Utho News
Company announcements, milestones, and updates shaping Utho’s growth story.


Unleashing the Power of Artificial Intelligence: What AI Can Do with Utho Cloud
July 17, 2024
by Lalit Mohan
Advantages and Challenges of Using AI and Machine Learning in the Cloud
July 17, 2024
by Lalit Mohan