How to install Zabbix agent on Ubuntu

How to install Zabbix-agent on Ubuntu
IntroductionIn this article, you will learn how to install Zabbix agent on Ubuntu server. When a native Zabbix agent is built in the C programming language, it has the capability of running on a variety of supported platforms, such as Linux, UNIX, and Windows, and collecting data from a device about its CPU consumption, memory usage, disc usage, and network interface usage.This is the Zabbix agent, and it collects all data by using the agent’s configuration file. So let’s get started with this instruction for step by step, shall we?
Prerequisites
apt repolist configured to install the new packages
Super user or any normal user with SUDO privileges to install packages.
Steps to install Zabbix agent
Step 1: First and foremost you need to update you Ubuntu server to install the secure patches. In my case, it happened that before installing zabbix-agent we were facing certificate errors in installing the zabbix agent. So after fully updaing the server, we were able to install the zabbix agent successfully. If you are looking for installing Zabbix agent on Debian, click here.
apt-get update
apt-get upgrade
Step 2: Now, download the package which will install the Zabbix agent 6 on your server.
# wget https://repo.zabbix.com/zabbix/6.4/ubuntu/pool/main/z/zabbix-release/zabbix-release_6.4-1+ubuntu22.04_all.deb
Download zabbix agent repolist on ubuntu
Step 3: Install the Zabbix repolist.
# dpkg -i zabbix-release_6.4-1+ubuntu22.04_all.deb
Install Zabbix repolist
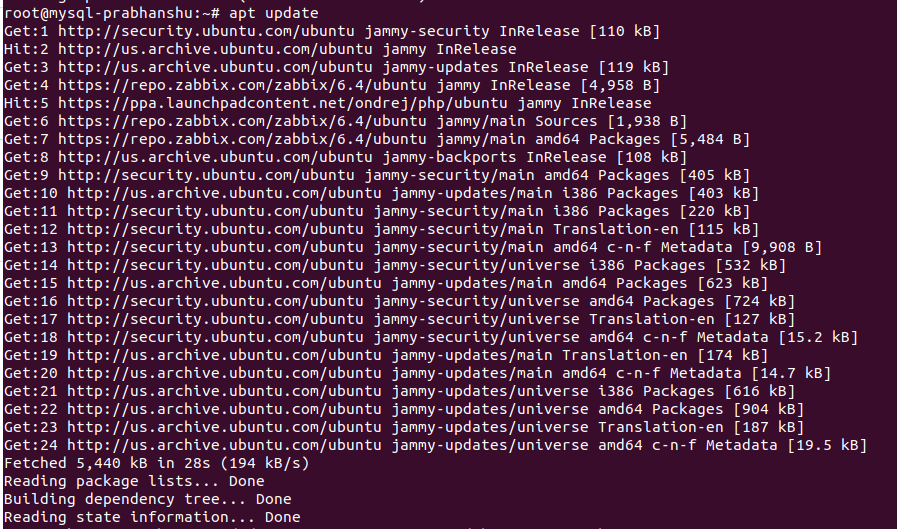
Step 4: Update your apt repolist
apt update
Install Zabbix agent on Ubuntu
Step 5: install the Zabbix-agent and related plugins.
apt install zabbix-agentStep 6: Now, start and enable the zabbix-server to start monitoring your server.
systemctl enable --now zabbix-agentyou have learnt how to install Zabbix agent on Ubuntu 22.04 server which tested and verified.