Create-cluster
Follow these steps to deploy a Kubernetes cluster on Utho Cloud platform using the Kubernetes deployment page.
How to Create a Kubernetes Cluster using Utho API
This guide demonstrates how to use the Utho API to create a Kubernetes cluster programmatically. The example code snippets are provided in multiple programming languages, including cURL , Python , JavaScript (Node.js) , PHP , and Java .
API Endpoint
URL : https://api.utho.com/v2/kubernetes/deploy
Method : POST
Content-Type : application/json
Headers:
- Authorization:
Bearer YOUR_BEARER_TOKEN
Request Payload
The payload structure is as follows:
{
  "dcslug": "inmumbaizone2",
  "cluster_label": "MyK8S-z2tkradY-wkjp",
  "cluster_version": "1.30.0-utho",
  "nodepools": [
    {
      "label": "pool-Kcpvcjdg",
      "size": "10045",
      "count": "1",
      "maxCount": "1"
    }
  ],
  "vpc": "1c689760-e9cf-48e3-b62d-8128b5e6edd7",
  "subnetRequired": "false",
  "network_type": "public",
  "firewall": "on",
  "cpumodel": "amd"
}
Example Code Snippets
1. Using cURL
curl -X POST https://api.utho.com/v2/kubernetes/deploy \
-H "Authorization: Bearer YOUR_API_KEY" \
-H "Content-Type: application/json" \
-d '{
  "dcslug": "inmumbaizone2",
  "cluster_label": "MyK8S-z2tkradY-wkjp",
  "cluster_version": "1.30.0-utho",
  "nodepools": [
    {
      "label": "pool-Kcpvcjdg",
      "size": "10045",
      "count": "1",
      "maxCount": "1"
    }
  ],
  "vpc": "1c689760-e9cf-48e3-b62d-8128b5e6edd7",
  "subnetRequired": "false",
  "network_type": "public",
  "firewall": "on",
  "cpumodel": "amd"
}'
2. Using Python (requests library)
import requests
import json

url = "https://api.utho.com/v2/kubernetes/deploy"
headers = {
    "Authorization": "Bearer YOUR_API_KEY",
    "Content-Type": "application/json"
}
data = {
    "dcslug": "inmumbaizone2",
    "cluster_label": "MyK8S-z2tkradY-wkjp",
    "cluster_version": "1.30.0-utho",
    "nodepools": [
        {
            "label": "pool-Kcpvcjdg",
            "size": "10045",
            "count": "1",
            "maxCount": "1"
        }
    ],
    "vpc": "1c689760-e9cf-48e3-b62d-8128b5e6edd7",
    "subnetRequired": "false",
    "network_type": "public",
    "firewall": "on",
    "cpumodel": "amd"
}

response = requests.post(url, headers=headers, data=json.dumps(data))
print(response.json())
3. Using JavaScript (Node.js - Axios)
const axios = require('axios');

const url = 'https://api.utho.com/v2/kubernetes/deploy';
const headers = {
    "Authorization": "Bearer YOUR_API_KEY",
    "Content-Type": "application/json"
};

const data = {
  dcslug: "inmumbaizone2",
  cluster_label: "MyK8S-z2tkradY-wkjp",
  cluster_version: "1.30.0-utho",
  nodepools: [
    {
      label: "pool-Kcpvcjdg",
      size: "10045",
      count: "1",
      maxCount: "1"
    }
  ],
  vpc: "1c689760-e9cf-48e3-b62d-8128b5e6edd7",
  subnetRequired: "false",
  network_type: "public",
  firewall: "on",
  cpumodel: "amd"
};

axios.post(url, data, { headers: headers })
  .then(response => console.log(response.data))
  .catch(error => console.error(error));
4. Using PHP (cURL)
<?php

$url = "https://api.utho.com/v2/kubernetes/deploy";
$headers = [
    "Authorization: Bearer YOUR_API_KEY",
    "Content-Type: application/json"
];
$data = [
    "dcslug" => "inmumbaizone2",
    "cluster_label" => "MyK8S-z2tkradY-wkjp",
    "cluster_version" => "1.30.0-utho",
    "nodepools" => [
        [
            "label" => "pool-Kcpvcjdg",
            "size" => "10045",
            "count" => "1",
            "maxCount" => "1"
        ]
    ],
    "vpc" => "1c689760-e9cf-48e3-b62d-8128b5e6edd7",
    "subnetRequired" => "false",
    "network_type" => "public",
    "firewall" => "on",
    "cpumodel" => "amd"
];

$ch = curl_init($url);
curl_setopt($ch, CURLOPT_POST, 1);
curl_setopt($ch, CURLOPT_HTTPHEADER, $headers);
curl_setopt($ch, CURLOPT_POSTFIELDS, json_encode($data));
curl_setopt($ch, CURLOPT_RETURNTRANSFER, true);

$response = curl_exec($ch);
curl_close($ch);

echo $response;
5. Using Java (HttpURLConnection)
import java.io.OutputStream;
import java.net.HttpURLConnection;
import java.net.URL;

public class KubernetesCluster {
    public static void main(String[] args) {
        try {
            String url = "https://api.utho.com/v2/kubernetes/deploy";
            String jsonInputString = "{\"dcslug\":\"inmumbaizone2\",\"cluster_label\":\"MyK8S-z2tkradY-wkjp\",\"cluster_version\":\"1.30.0-utho\",\"nodepools\":[{\"label\":\"pool-Kcpvcjdg\",\"size\":\"10045\",\"count\":\"1\",\"maxCount\":\"1\"}],\"vpc\":\"1c689760-e9cf-48e3-b62d-8128b5e6edd7\",\"subnetRequired\":\"false\",\"network_type\":\"public\",\"firewall\":\"on\",\"cpumodel\":\"amd\"}";

            HttpURLConnection conn = (HttpURLConnection) new URL(url).openConnection();
            conn.setRequestMethod("POST");
            connection.setRequestProperty("Content-Type", "application/json", "Authorization", "Bearer YOUR_API_KEY");
            conn.setDoOutput(true);

            try (OutputStream os = conn.getOutputStream()) {
                byte[] input = jsonInputString.getBytes("utf-8");
                os.write(input, 0, input.length);
            }

            int code = conn.getResponseCode();
            System.out.println("Response Code: " + code);
        } catch (Exception e) {
            e.printStackTrace();
        }
    }
}
Response
On success, the API returns a response like this:
{
  "status": "success",
  "message": "Kubernetes Cluster deployment is in process and should be completed in few seconds.",
  "id": 750063
}
Notes
- Ensure the payload values match your desired cluster configuration.
- Replace placeholder values like
dcslug,vpc, andnodepoolsas per your requirements. - Proper error handling should be implemented in your application for production usage.
This guide provides a foundation for integrating Utho API into your system.
Create a Kubernetes Cluster using Control Panel
1. Select DC Location
- Choose a Data Center location from the dropdown menu.
- Example: Select “Mumbai, India.”

2. Select Kubernetes Version
- Enter a Cluster Label to identify your Kubernetes cluster.
- Choose a Cluster Version from the dropdown menu.

3. Manage Node Worker Pools
- Click on Add Node Pool to configure worker nodes for the cluster.
- Provide a Pool Name for the node pool.
- Select a Node Size from the dropdown menu to allocate resources for the nodes.
- Specify the Desired Count of nodes in the node pool.
- The Total Cost will be calculated automatically based on the configuration.

4. Configure VPC Network
- Select an existing VPC Network or click Add New VPC to create a new one.

5. Configure Endpoint Access Info
- Choose the endpoint access level for the Kubernetes API server:
- Public : Accessible from outside the VPC.
- Public and Private : Accessible from both outside and within the VPC.
- Private : Accessible only within the VPC.

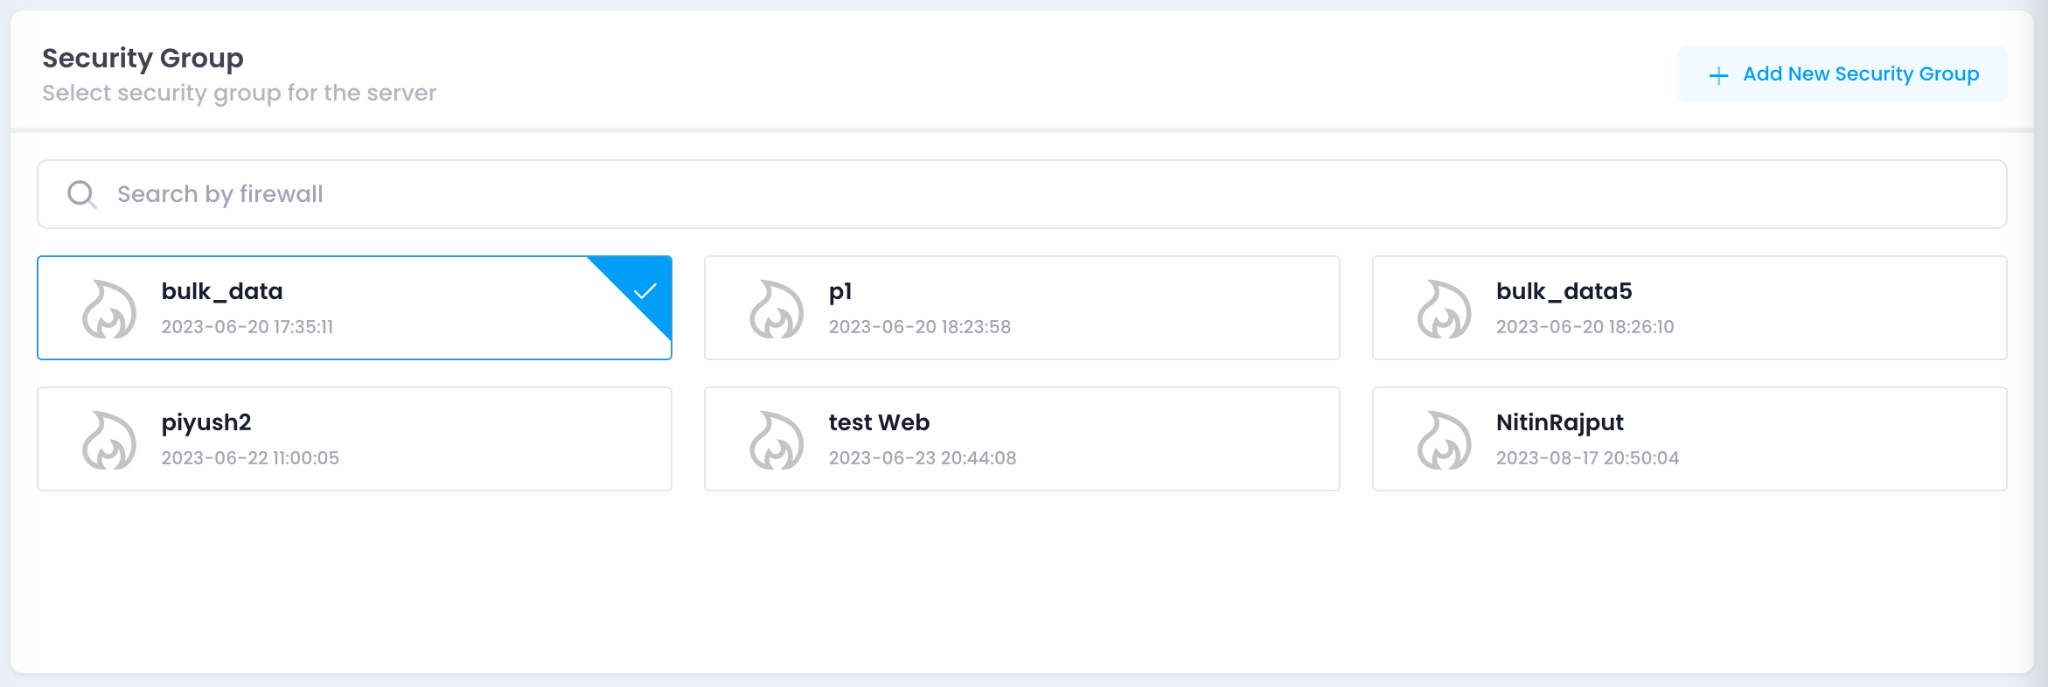
6. Configure Security Group
- Select a Security Group from the available options or click Add New Security Group to create a new one.

8. Deploy the Cluster
- Review the total cost displayed at the bottom.
- Click Deploy Cluster to initiate the deployment process.

9. Verify the Cluster Deployment
Once the Kubernetes cluster deployment reaches 100%, you need to verify that the cluster is running correctly.

Steps to verify:
Check Cluster Status
Download the Kubeconfig file by clicking the “Download” button in the UI.
Access the Cluster
Set the environment variable for the Kubeconfig file and check cluster details:
export KUBECONFIG=/path/to/your/kubeconfig.yaml
kubectl cluster-info
List Nodes
Ensure the nodes are correctly added to the cluster:
kubectl get nodesCheck Running Pods
Verify that all system pods are running:
kubectl get pods -ADeploy a Test Application (Optional)
Deploy a simple Nginx pod to test:
kubectl create deployment nginx --image=nginx
kubectl get pods
Once these checks confirm a properly running cluster, the deployment verification is complete. Let me know if you need modifications!