Destroy Firewall
How to Destroy Firewall
This guide will show you how to destroy a firewall and dissociate it from any cloud servers associated with it. Once destroyed, the firewall will be permanently deleted, and any servers connected to it will no longer be protected by that firewall.
1. Log in to Utho Cloud Platform
- Visit the Utho Cloud Platfom’s login page .
- Enter your credentials and click Login .
- If you’re not registered, sign up here .
2. Navigate to the Firewall Listing Page
- After logging in, go to the Firewall Listing Page.
- Here all the firewalls deployed in your account are listed.
- You can directly access this page by clicking here.
3. Select the Firewall to Manage
Find the firewall that you want to destroy.
Click the “Manage” button next to the selected firewall to go to its manage page.

4. Go to the “Destroy” Tab
On the Manage Page of the firewall, click the “Destroy” tab in the top-right corner of the page.
The content for the Destroy section will load.

5. Read the Destruction Warning
- The page will show the following warning:
- Destroying the firewall will dissociate any attached cloud servers, which will then allow all inbound and outbound traffic unless they have a software firewall or are attached to another firewall.
6. Click the “Destroy Firewall” Button
A red colored “Destroy Firewall” button will be visible.
Click on this button to initiate the destruction process.

7. Confirm the Deletion
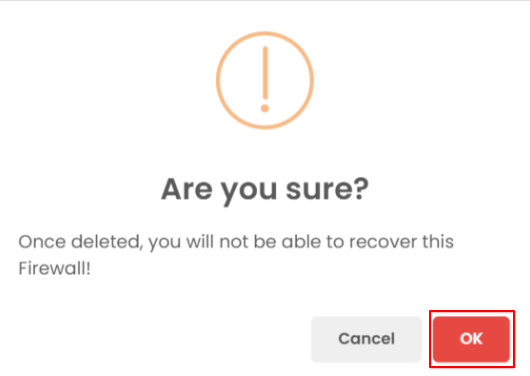
A confirmation popup will appear asking you to confirm the destruction of the firewall.
Click OK to confirm.

8. Verify the Firewall Deletion
After the firewall is successfully destroyed, you will be redirected to the Firewall Listing Page .
You can verify that the firewall has been deleted by checking the list to ensure the firewall is no longer present.

By following these steps, you can easily destroy a firewall and remove any servers attached to it.