Upload Rules
This guide will show you how to upload custom firewall rules using a .csv file, allowing you to quickly add multiple rules for both incoming and outgoing traffic.
1. Log in to the Platform
- Visit the Utho Cloud Platform’s login page .
- Enter your credentials and click Login .
- If you’re not registered, sign up here.
2. Navigate to the Firewall Listing Page
- After logging in, go to the Firewall Listing Page .
- Here, all the firewalls deployed in your account are listed.
- You can directly access this page by clicking here.
3. Select the Firewall to Manage
Find the firewall that you want to upload rules for.
Click the “Manage” button next to the selected firewall to go to its manage page.

4. Go to the “Rules” Tab
- On the Manage Page of the firewall, you will automatically be on the Rules tab. If not, click on the “Rules” tab from the top-right corner of the page.
5. Click the “Upload Rules” Button
In the Rules section, click the “Upload Rules” button at the top of the page.
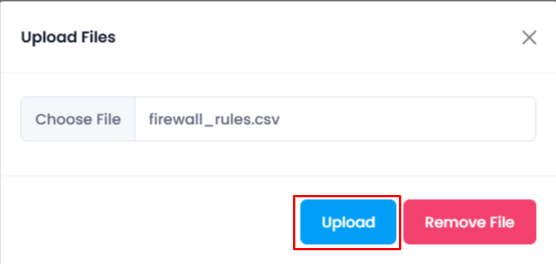
This will open the file upload dialog where you can choose a .csv file containing your custom rules.


6. Prepare Your CSV File
The .csv file should include the following columns:
Type : Defines whether the rule is for incoming or outgoing traffic (e.g., “incoming” or “outgoing”).
Service : The service for which the rule applies, such as SSH, HTTP, MySQL, etc.
Protocol : Usually TCP, but can be any protocol required (e.g., UDP).
Port : The numerical value corresponding to the port for the selected service (e.g., 22 for SSH, 80 for HTTP).
Addresses : The numeric IP addresses or address range that the rule applies to.

7. Select and Upload the CSV File
Choose the CSV file you have prepared and confirm your selection.
The system will read the file and apply the rules automatically.

8. Verify the Rules
After the upload is complete, go back to the Rules tab of the Manage Page .
The uploaded rules will now be visible in the list of firewall rules.

