Destroy
March 7, 2024
Tags:
·
Create an Utho account to try this guide with a $100 credit.
Sign Up
Destroy DNS Record in Managed DNS
Navigate to the Destroy Section:
- On the Managed DNS dashboard, go to the Destroy section where you manage DNS deletion.
Click on the Destroy Button:
- In the Destroy section, click the Destroy button next to the DNS record you wish to delete.

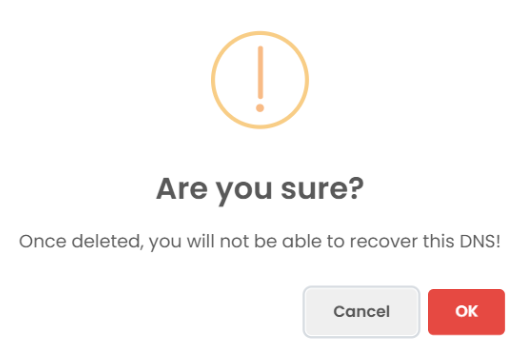
Pop-up for Confirmation:
- A confirmation pop-up will appear to ensure that you want to permanently delete the DNS record.

Confirm Deletion:
- Confirm the action in the pop-up by clicking OK.
DNS Deletion:
- Once confirmed, the DNS record will be permanently deleted from the system.
Create an Utho account to try this guide with a $100 credit.
Sign Up