Attach Subnet
How to Attach a Subnet to NAT Gateway
Overview
Attaching a subnet to a NAT Gateway enables resources in that subnet to use the NAT Gateway for accessing the internet. This guide will walk you through the process of attaching a subnet to a NAT Gateway and verifying the successful attachment.
1. Login to Utho Cloud Platform
- Visit the Utho Cloud Platform’s Login page.
- Enter your credentials and click Login .
- If you’re not registered, sign up here .
2. Navigate to the NAT Gateway Manage Page
- On the left sidebar of the platform, locate the VPC menu.
- Under the VPC section, select NAT Gateways .
- This will take you to the NAT Gateway Listing Page , where you can view all the existing NAT Gateways.
- Choose the NAT Gateway to which you wish to attach a subnet.
- Click on the “Manage” button next to the selected NAT Gateway. This will redirect you to the NAT Gateway Manage Page .

3. Go to the Subnet Tab
- On the NAT Gateway Manage Page , navigate to the “Subnet” tab. Here, you will see a list of subnets currently attached to the NAT Gateway.

4. Click on “Attach Subnet” Button
- At the top of the subnet list, you will find a button labeled “Attach Subnet” .
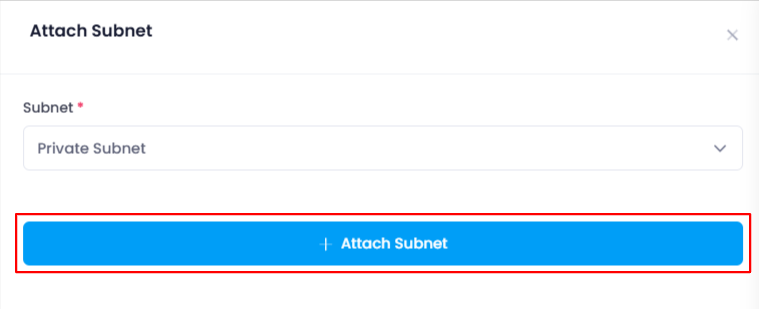
- Click on the “Attach Subnet” button to open a drawer where you can select a subnet to attach to the NAT Gateway.
5. Select the Subnet to Attach
- Inside the drawer, you will see a dropdown menu displaying all available subnets that can be attached to the NAT Gateway.
- Choose the desired subnet from the dropdown menu.
6. Attach the Subnet
After selecting the subnet, click the “Attach Subnet” button to attach the chosen subnet to the NAT Gateway.
The selected subnet will now be connected to the NAT Gateway, and it will start routing traffic through the NAT Gateway for internet access.

7. Verify the Attachment
To verify that the subnet has been successfully attached to the NAT Gateway, return to the “Subnet” tab in the NAT Gateway Manage Page .
You should see the newly attached subnet listed among the attached subnets.

Conclusion
Attaching a subnet to a NAT Gateway allows the subnet’s resources to use the gateway for accessing the internet. By following these simple steps, you can easily attach a subnet to any NAT Gateway, and verify the successful connection from the subnet list.