Create Object Storage
March 7, 2024
Tags:
·
Create an Utho account to try this guide with a $100 credit.
Sign Up
How to create object storage bucket
Login or Sign Up
- Visit the Utho Cloud Platform login page.
- Enter your credentials and click Login.
- If you’re not registered, sign up here.
Step 1: Access the Object Storage Section
- Open the Utho Cloud Platform dashboard.
- Click “Object Storage” in the sidebar.
- You’ll be redirected to the Object Storage listing page , where you’ll see:
- Buckets : Displays all deployed object storage instances.
- Access Keys : Lists generated access keys for API interactions.
Step 2: Create an Object Storage Bucket
- Click the “Create Bucket” button to start deployment.
- You will be redirected to the Bucket Deployment Page , where you must configure:
Datacenter Location : Choose a region where your data will be stored. Selecting a closer region ensures lower latency, better performance, and compliance with data residency regulations.

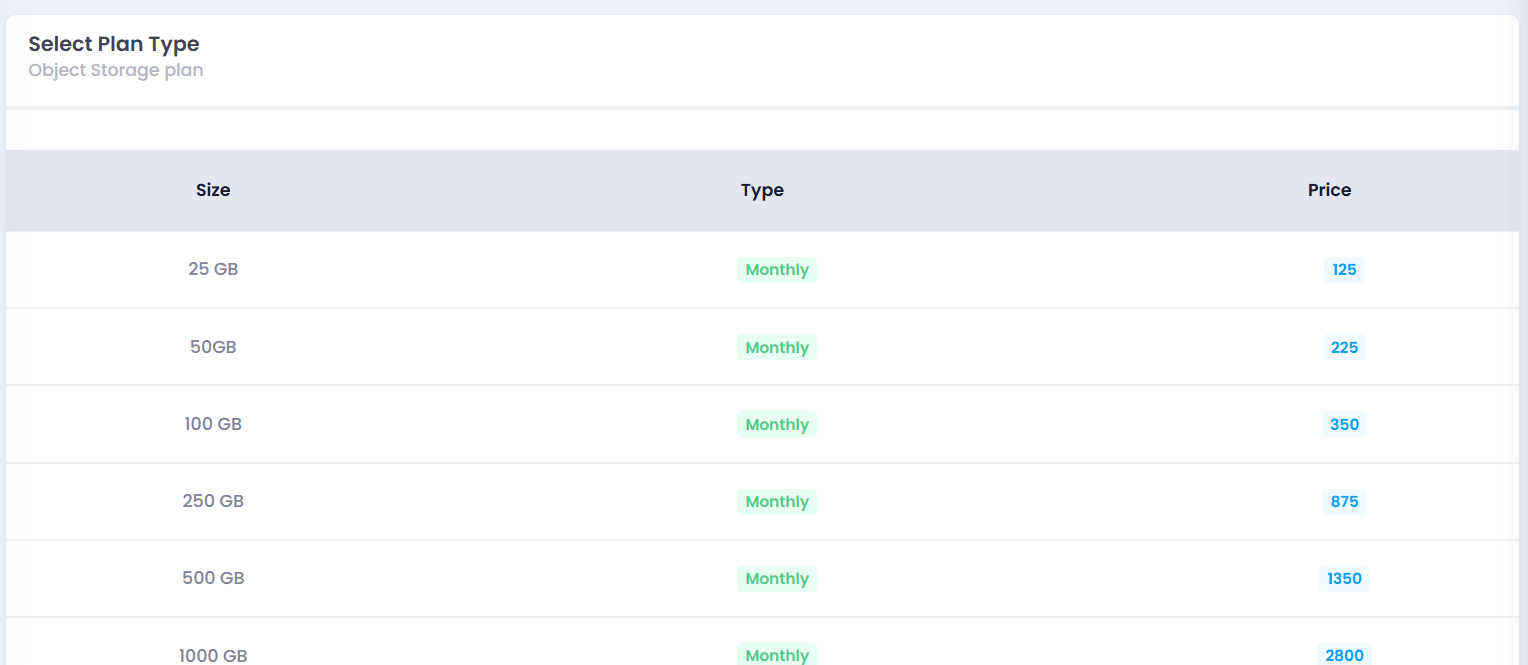
Storage Plan : Pick a plan based on your storage needs. Plans vary in storage capacity and pricing, allowing flexibility based on your data requirements.

Bucket Name : Enter a unique name (lowercase, no spaces) that identifies your storage instance globally.

Step 3: Deploy the Bucket
- Review your selected options and the estimated cost.
- Click “Create Storage” to begin deployment.
- The system will provision your bucket, which may take a few seconds to minutes.

Verify Your Deployment
- After deployment, you’ll be automatically redirected to the Manage Bucket Page .
- Here, verify that your bucket is successfully created.
- You can check the status of your deployed instance in the bucket list.

Create an Utho account to try this guide with a $100 credit.
Sign Up