Getting Started
March 7, 2024
Tags:
·
Create an Utho account to try this guide with a $100 credit.
Sign Up
Initial Start
Navigate to SQS Management

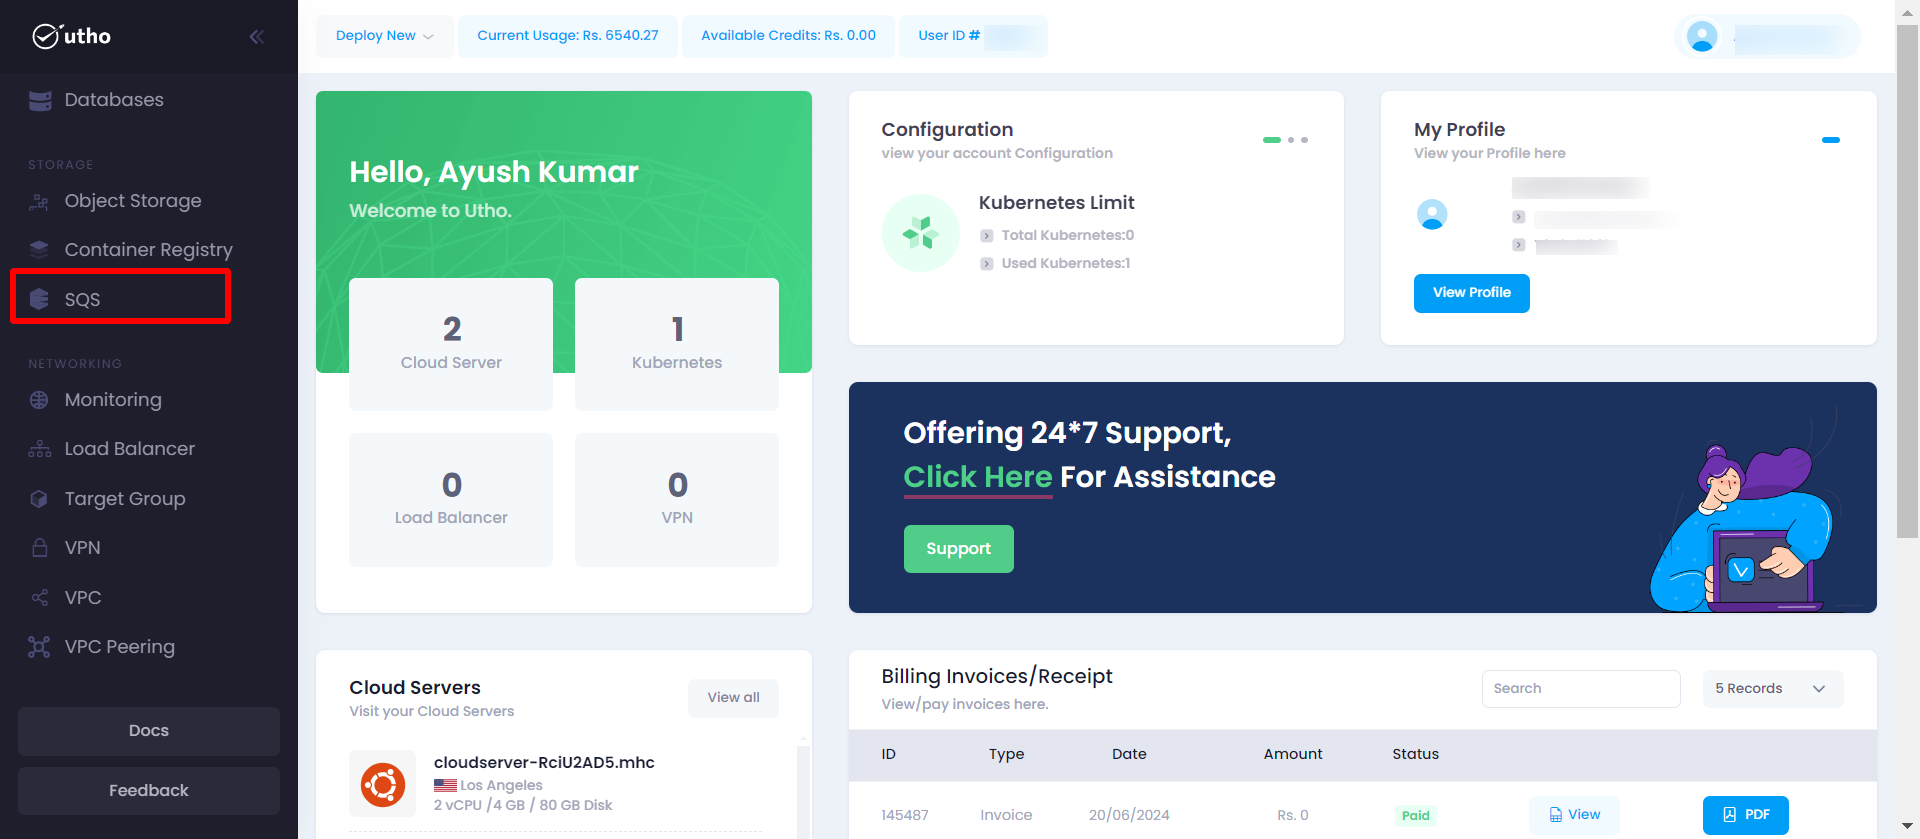
- In the sidebar menu, click on “SQS”.
- You will be directed to a page displaying a list of all existing SQS queues.
- This page will have a button labeled Create New SQS.
Create a New SQS
- Click on the Create New SQS button.
- You will be navigated to the deploy page.
Quick Start
The purpose of this documentation is to provide a quick guide on how to create and manage SQS queues within the Utho Cloud platform.
Open the SQS Management Page:
- Click on the SQS option in the sidebar menu.
- You will see a list of all existing SQS queues.
- Click on the Create New SQS button to initiate the process.
 Screenshot: SQS Management page showing the list of existing SQS queues and the Create New SQS button.
Deploy a New SQS:
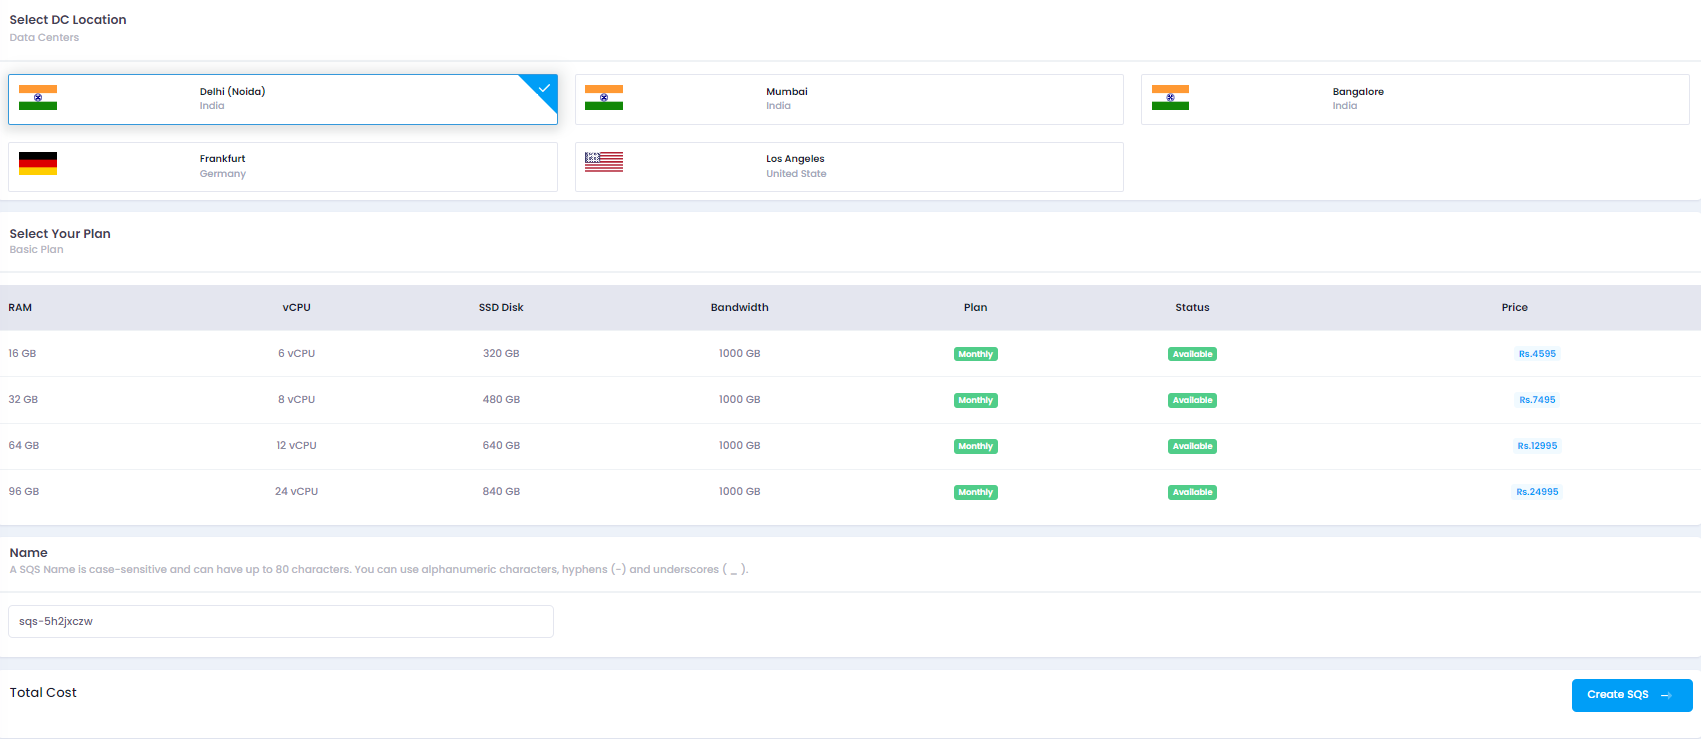
- On the deploy page, you need to provide the following details:
- Data Center Location: Select the data center location where the SQS will be deployed.
- Configuration: Specify the configuration settings for the SQS queue.
- Name: Provide a unique name for the SQS queue.
 Screenshot: Deploy page showing fields for data center location, configuration, and name.
- On the deploy page, you need to provide the following details:
Create SQS:
- Click on the Create SQS button to save and create your new SQS queue.
Verify SQS Creation:
- Once created, the new SQS queue will appear in the list on the SQS Management page. You can view and manage it from there.
System Requirements:
- Operating System: Windows, macOS, Linux, or mobile OS (iOS, Android)
- Web Browser: Latest versions of Google Chrome, Mozilla Firefox, or Microsoft Edge
- Network: Active internet connection
Create an Utho account to try this guide with a $100 credit.
Sign Up