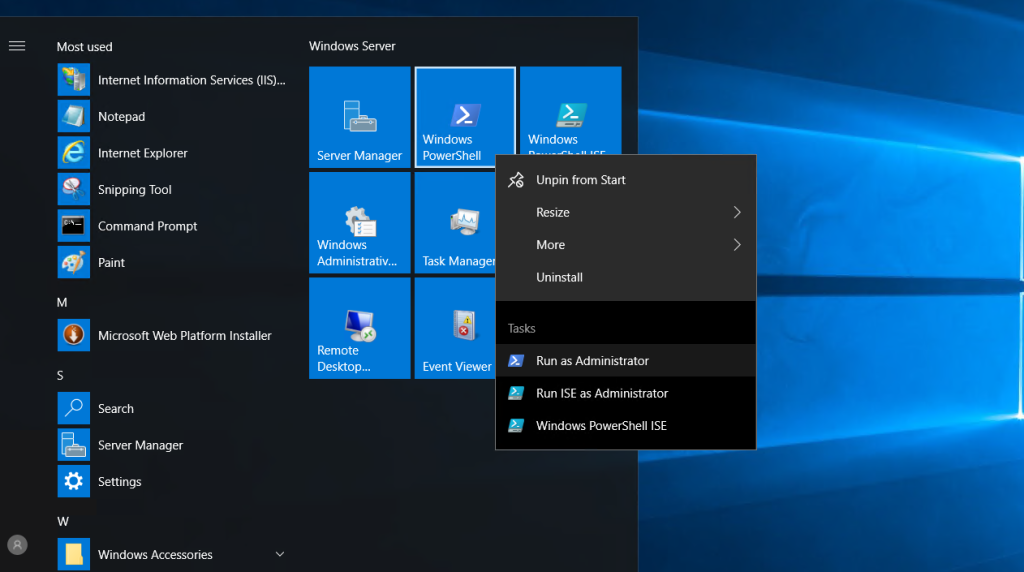
How to setup SSH Server on Windows Server via PowerShell

Step 1. Login to your Windows Server setup SSH Server via PowerShell
Step 2. Open PowerShell as Administrator

Step 3. Check the names of installable features using the following command
Get-WindowsCapability -Online | ? Name -like 'OpenSSH*'Name : OpenSSH.Client~~~~0.0.1.0
State: Installed
Name : OpenSSH.Server~~~~0.0.1.0
State : NotPresent
Step 4. Install OpenSSH Server
Add-WindowsCapability -Online -Name OpenSSH.Server~~~~0.0.1.0Path:
Online : True
RestartNeeded : False
Step 5. Start service
Start-Service -Name "sshd"step 6. Set Startup to [Automatic]
Set-Service -Name "sshd" -StartupType Automaticstep 7. Check
Get-Service -Name "sshd" | Select-Object *Name : sshd
RequiredServices : {}
CanPauseAndContinue : False
Can Shutdown : False
CanStop : True
DisplayName : OpenSSH SSH Server
DependentServices : {}
MachineName : .
ServiceName : sshd
ServicesDependedOn : {}
ServiceHandle : SafeServiceHandle
Status : Running
ServiceType : Win32OwnProcess
StartType : Automatic
Site: Container: setup SSH Server via PowerShell
Step 8. Allow 22/TCP if Windows Firewall is running
New-NetFirewallRule -Name "SSH" `-DisplayName "SSH" `
-Description "Allow SSH" `
-Profile Any `
-Direction Inbound`
-Action Allow`
-Protocol TCP`
-Program Any`
-LocalAddress Any `
-RemoteAddress Any`
-LocalPort 22`
-Remote Port AnyName : SSH
DisplayName : SSH
Description : Allow SSH
DisplayGroup:
Group :
Enabled : True
Profile: Any
Platform : {}
Direction: Inbound
Action: Allow
EdgeTraversalPolicy : Block
LooseSourceMapping : False
LocalOnlyMapping : False
Owner:
Primary Status : OK
Status : The rule was parsed successfully from the store. (65536)
EnforcementStatus : NotApplicable
PolicyStoreSource : PersistentStore
PolicyStoreSourceType : Local
Thank You!