
The Utho Blog
Explore expert insights, product updates, real-world stories, and cloud innovations designed to help developers and businesses scale with confidence.

Latest Updates
Explore our newest blog posts covering cloud hosting, VPS solutions, server management tips, and industry news to help you make the most of your infrastructure.
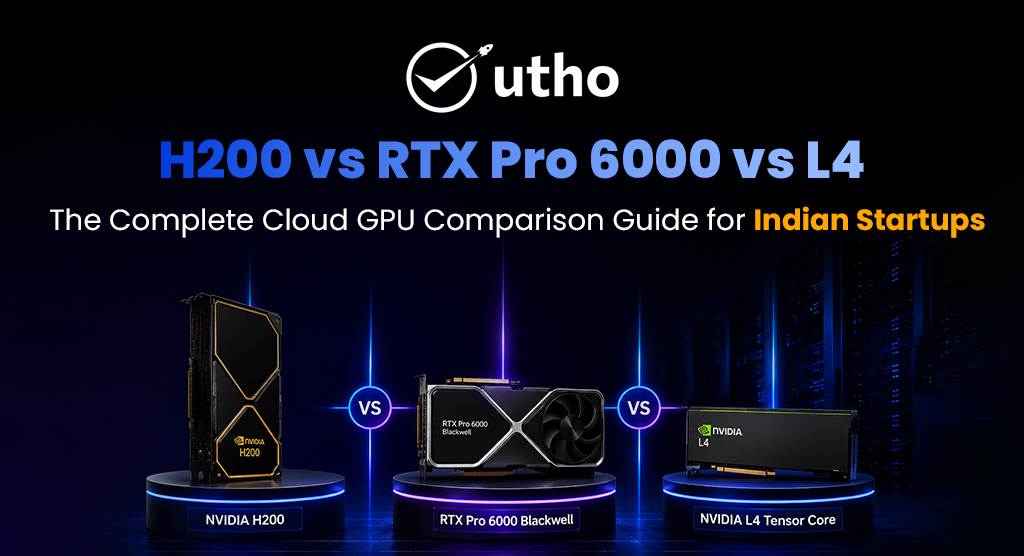
H200 vs RTX Pro 6000 vs L4: The Complete Cloud GPU Comparison Guide for Indian Startups
July 24, 2026
by Umesh
RTX PRO 6000 Blackwell vs L4 Tensor Core: Picking the Right GPU for Your Budget
July 22, 2026
by Umesh
Community
Stories, collaborations, and events connecting developers across the ecosystem.

Trust & Security
Security standards, compliance updates, and reliability practices you can trust.


The Role of Sovereign Cloud in National Security and Digital Independence
September 9, 2025
by Umesh

Utho News
Company announcements, milestones, and updates shaping Utho’s growth story.


Unleashing the Power of Artificial Intelligence: What AI Can Do with Utho Cloud
July 17, 2024
by Lalit Mohan

Advantages and Challenges of Using AI and Machine Learning in the Cloud
July 17, 2024
by Lalit Mohan