Create Custom Stack on Utho Cloud with These Easy Steps
A cloud stack denotes the mix of various cloud computing services and elements employed for constructing and overseeing cloud infrastructure. It commonly includes a blend of software, platforms, and infrastructure that collaborate to establish a comprehensive cloud computing environment. Additionally, the term "cloud stack" can also signify a particular software platform designed to facilitate the management and deployment of cloud applications and services.
To establish your custom Stack on the Utho cloud dashboard, adhere to the following standardized procedure:
Step 1: Access your Utho Cloud Dashboard by logging in through the provided Link.

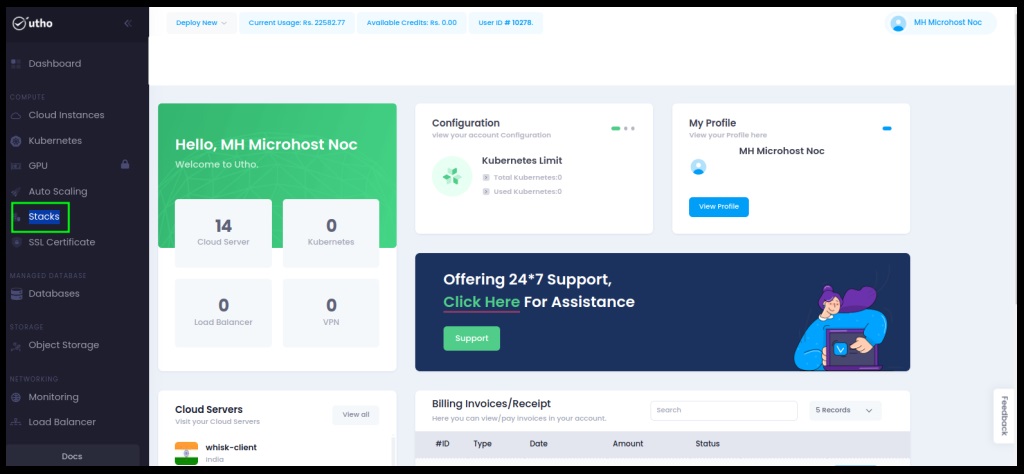
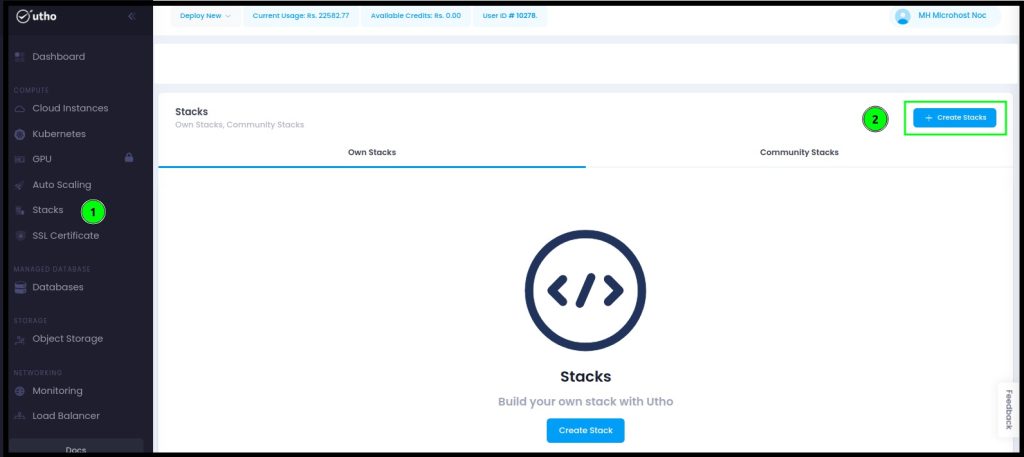
Step 2: Navigate to the "Stacks" option from the left-side menu.
Step 3: Initiate the creation of your customized Stack by selecting the "Stacks" button. This action will redirect you to the page within the Utho Dashboard dedicated to crafting your own stack.
Step 4: Add a Stack Label for identification and utilize the description field to provide details for your stack.
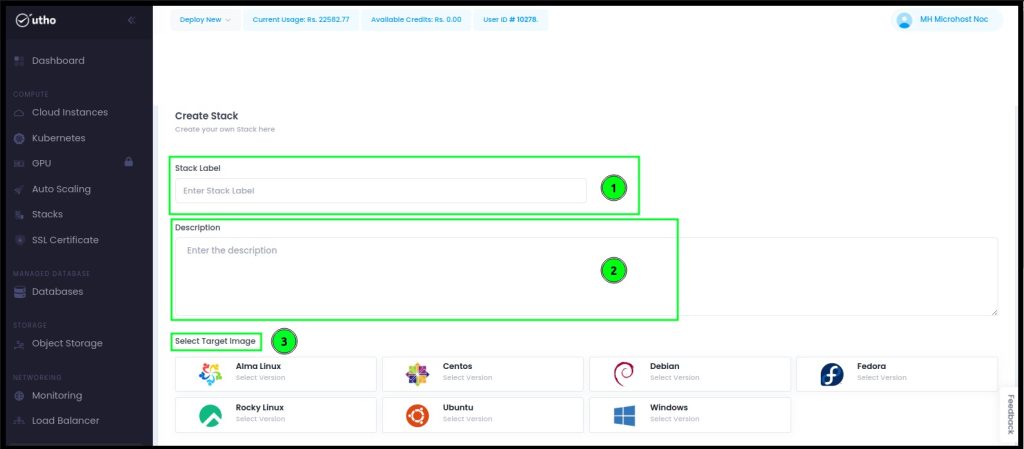
Step 5: Choose the preferred operating system for configuring the stack. You can add multiple operating systems to ensure seamless operation as per your preferences.
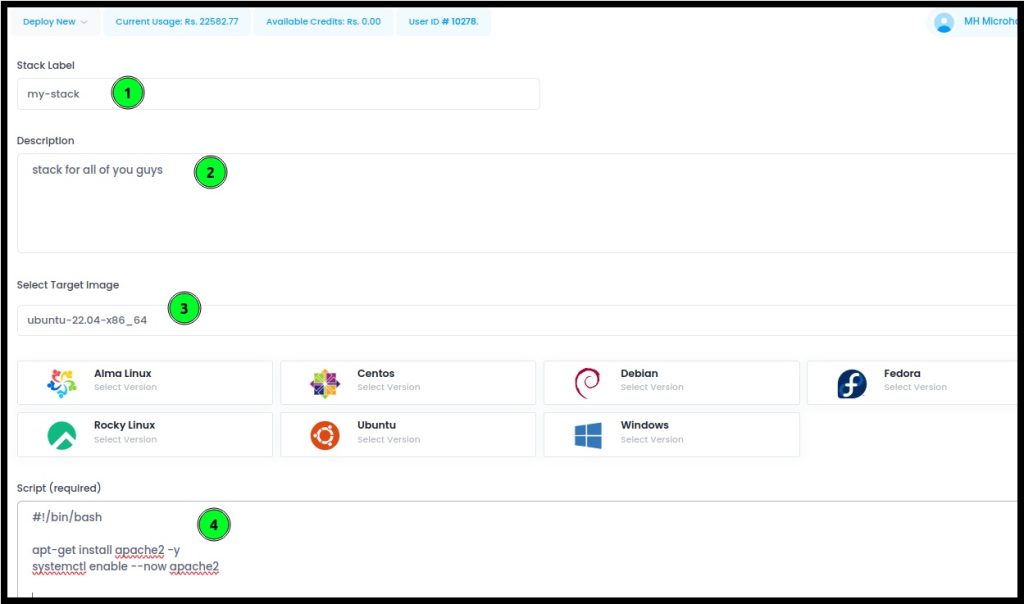
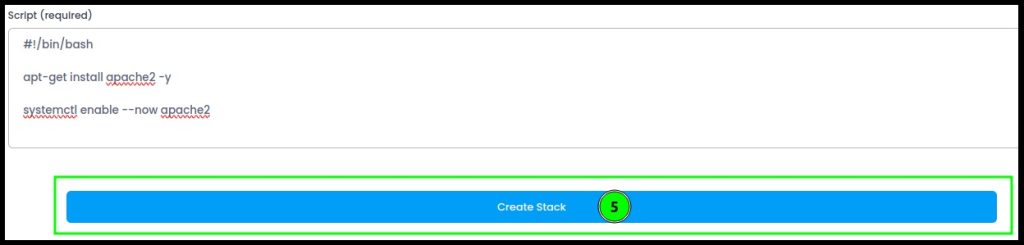
Step 6: In the script section below, integrate a bash script detailing the desired stacks, including version names and specific configurations. Once customization is complete, save the stack by clicking on 'Create Stack'.
#!/bin/bash
apt-get install apache2 -y
systemctl enable --now apache2
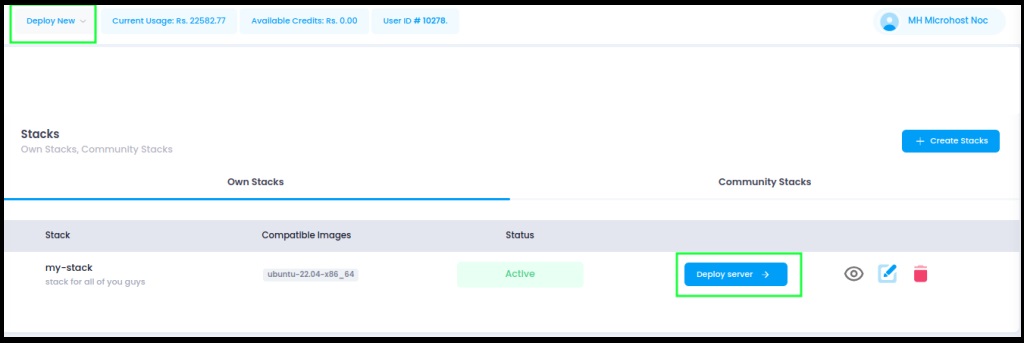
Step 7: After saving the stack, you'll be redirected to the Stacks page. To deploy the stack, click the "Deploy" button, as illustrated in the image below.
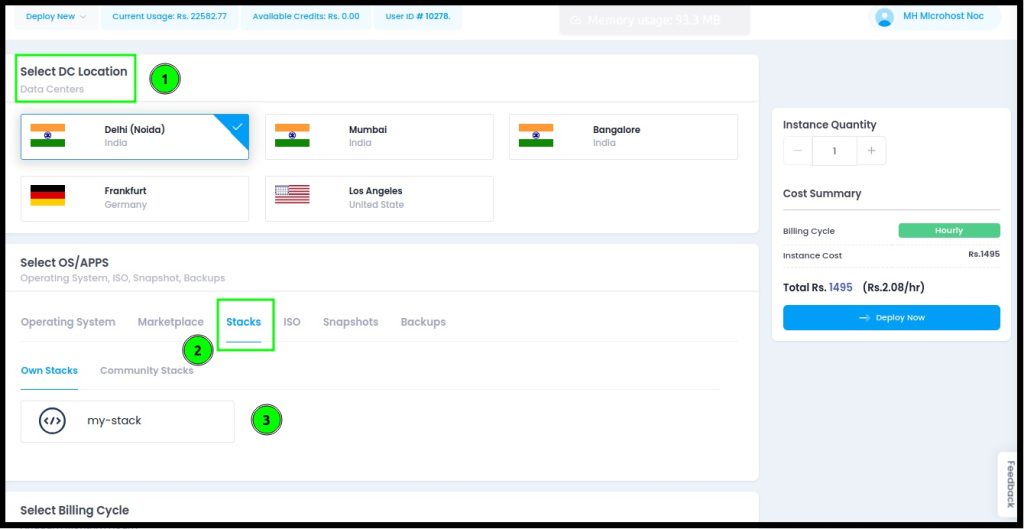
Step 8: Navigate to a new window where you can choose the Data Center (DC) Location and switch between the listed operating systems. After configuring your preferences for the cloud instance, click 'Deploy Now'.

Congratulations! Your custom stack instance has been deployed successfully. You can set the login credentials during deployment or expect secure credentials to be sent to your email after server provisioning.