How to Create a Self-Signed Certificate in Windows Server
INTRODUCTION
In cryptography and computer security, self-signed certificates are public key certificates that are not issued by a certificate authority. These self-signed certificates are easy to make and do not cost money. However, they do not provide any trust value. On modern Windows versions (Windows Server 2022/2019/2016/2012R2) you can create a self-signed certificate using the built-in PowerShell cmdlet [New-SelfSignedCertificate](https://learn.microsoft.com/en-us/powershell/module/pki/new-selfsignedcertificate?view=windowsserver2022-ps) without using additional tools. In this tutorial, we will learn how to Create a Self-Signed Certificate in Windows Server.
Prerequisites
-
Windows Server
-
PowerShell with Administrator
-
Internet connectivity
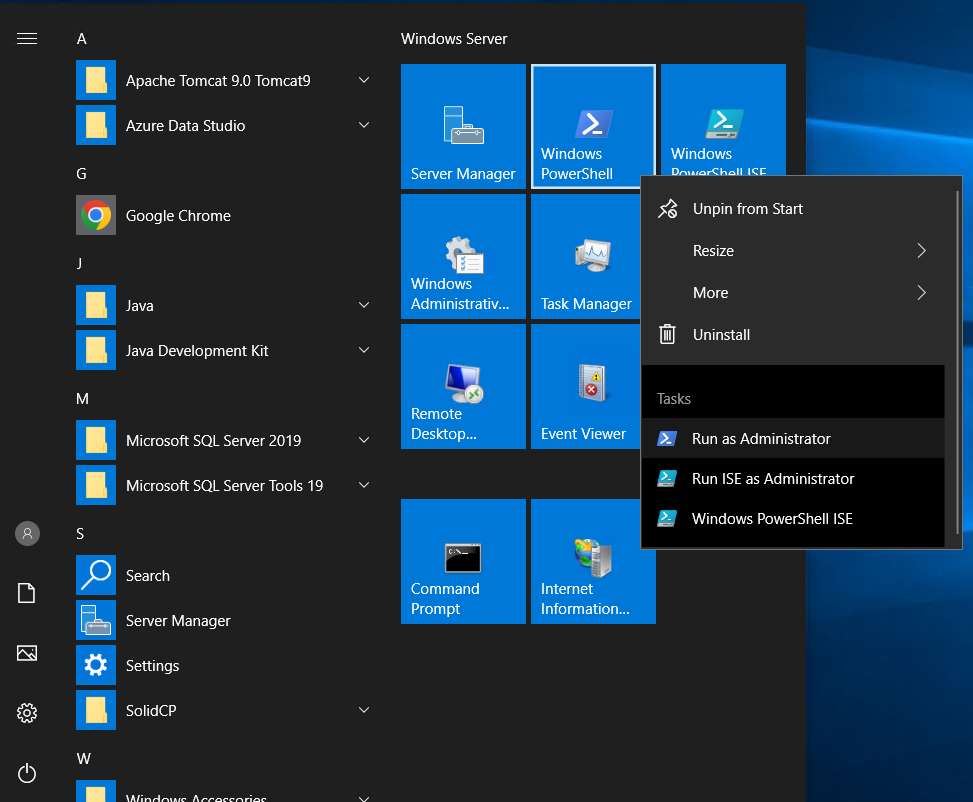
Step 1. Login to your Windows Server
Step 2. Open PowerShell with Administrator
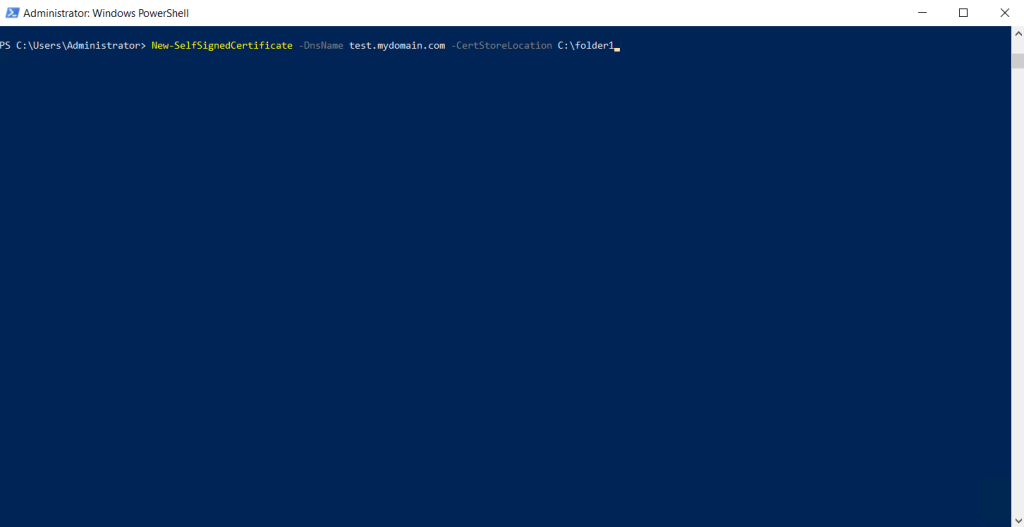
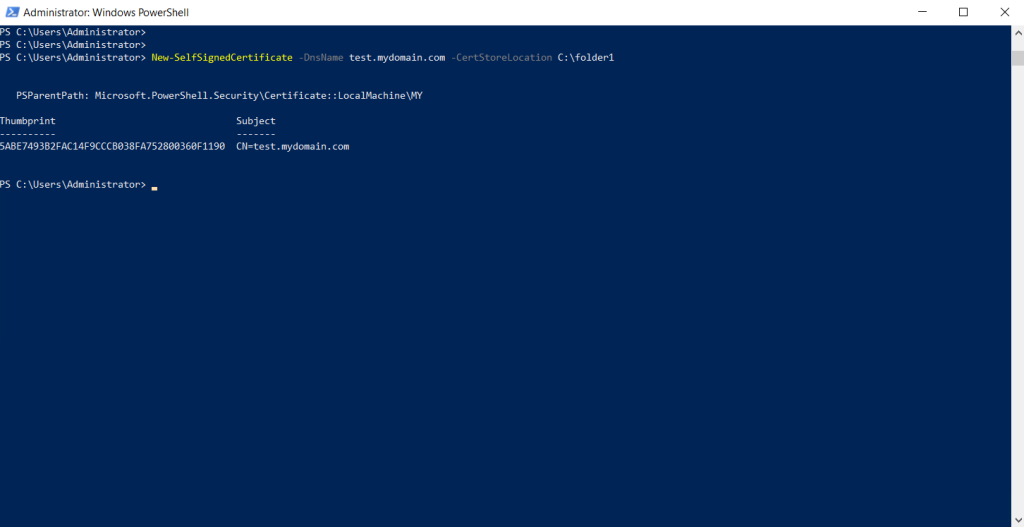
Step 3. Run the following command to generate a self-signed certificate
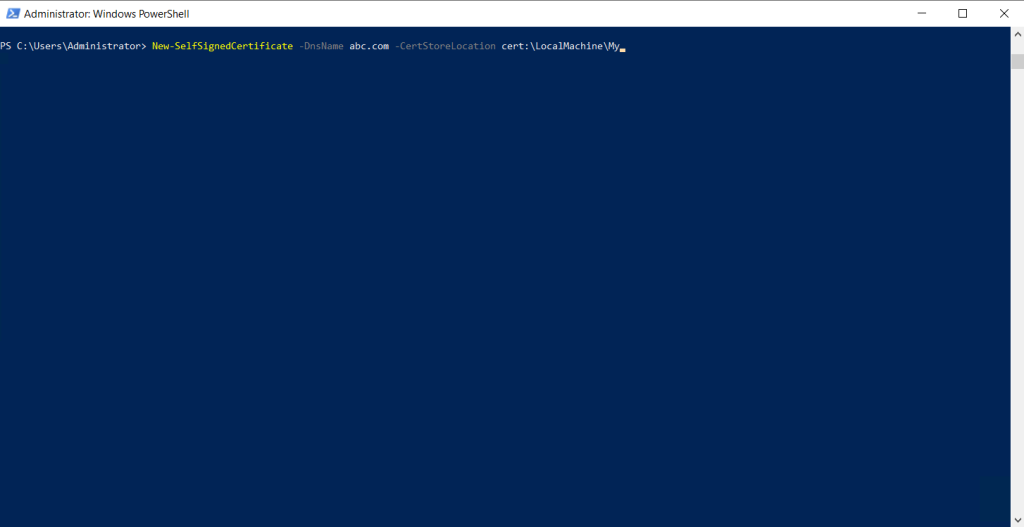
Step 4. We will edit the domain name and certificate location according to our preference.
Step 5. Self-signed certificate generated.
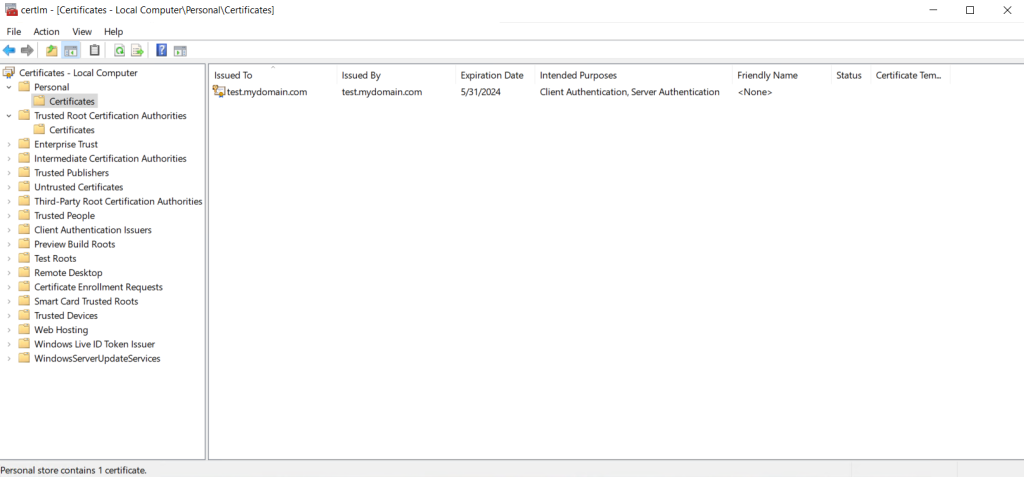
Step 6. Check our recently generated self-signed certificate by running certlm.msc in run.
Thank You!