How to install Apache server on OpenSUSE

How to install Apache server on OpenSUSE
In this article, you will learn how to install Apache server on OpenSUSE server. Apache is a well-known HTTP Server that is free, open source, and runs on Unix-like operating systems like Linux and Windows OS. Since it came out 20 years ago, it has been the most popular web server. Many sites on the Internet use it to run. It is easy to install and set up so that a Linux or Windows server can host one or more websites.
In this article, we'll show you how to use the command line to install, set up, and manage Apache HTTP web server on OpenSUSE server.
Prerequisites
-
Internet accessible on server
-
Super user or any normal user with SUDO privileges
Install Apache Web Server
Step 1: Check your system release.
cat /etc/os-release
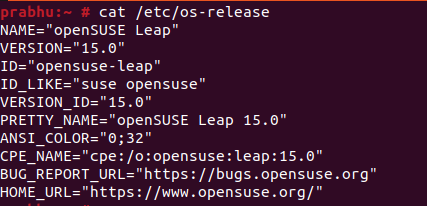
OpenSUSE 15.0
Step 2: Now, update the system software packages to the latest version.
zypper update -y
Step 3: Next, do the following with the zypper package manager to install Apache HTTP server from the default software repositories.
zypper install apache2 -y

Install apache on Opensuse server
Start Apache Server on OpenSUSE
Step 4: After installing Apache web server, you can start it for the first time and set it to start automatically when the system starts up.
systemctl enable --now apache2
Step 5: You can confirm the status of Apache server by using following command
systemctl status apache2
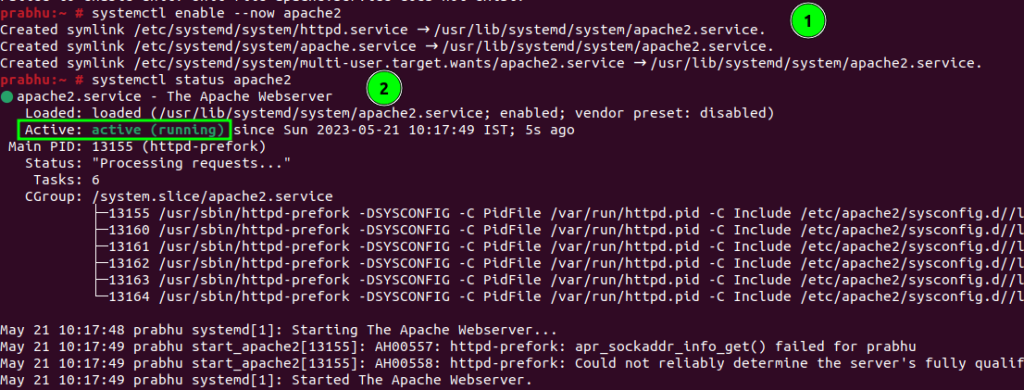
Start and enable the Apache2 services
Configure firewalld to Allow Apache Traffic
Step 6: The firewall that comes with CentOS 7 is set up to block Apache traffic by default. To let web traffic through on Apache, change the system firewall rules to allow HTTP and HTTPS packets to come in.
firewall-cmd --permanent --add-service http
firewall-cmd --permanent --add-service https
firewall-cmd --reload

Add http port in firewalld
Test Apache HTTP Server on CentOS 7
Step 7: Now, edit or create you index page to test your installation.
echo "<h1> Greetings from Microhost Cloud </h1> >> /srv/www/htdocs/index.html
If you now go to the following URL, a default Apache page will be shown.
http://server_ip

Successfully installed apache2 on OpenSUSE
And this is how you have learnt how to install Apache server on OpenSUSE