How to Change Computer Name in Windows Server via PowerShell

INTRODUCTION Change Computer Name
Changing name of the computer/system is just a basic step to set a custom tag for your system. In this tutorial, we will learn how to Change Computer Name in Windows Server 2016, 2019 and 2022 via PowerShell.
Prerequisites
-
PowerShell with Administrator rights
Step 1. Login to your Windows Server
Step 2. Open PowerShell as an Administrator

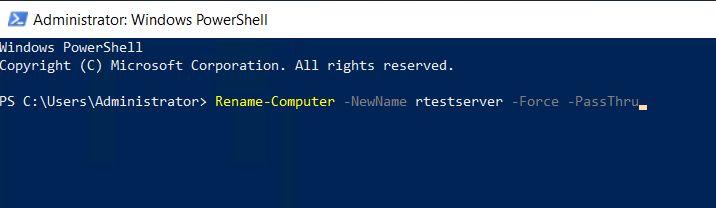
Step 3. Run the following command to [rtestserver]
Rename-Computer -NewName rtestserver -Force -PassThru
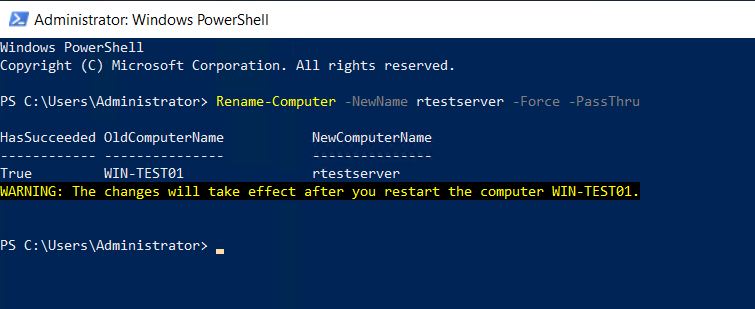
Step 4. Run the following command to restart server and apply changes Change Computer Name
Restart-Computer -Force

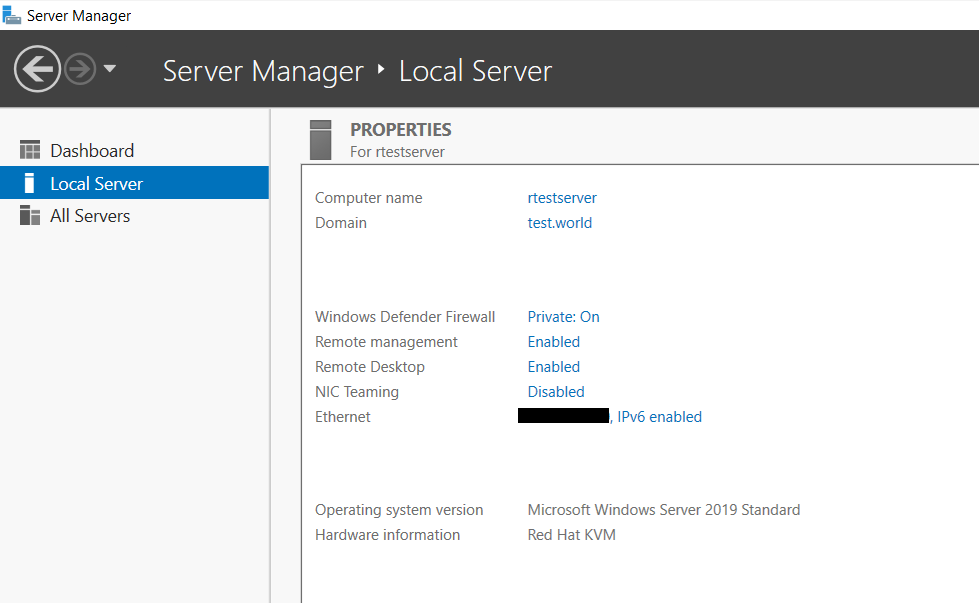
Server name changed.
Thank You!