How to install Hyper-V on Windows Server via PowerShell
INTRODUCTION install Hyper-V on Windows
Microsoft Hyper-V, codenamed Viridian, and briefly known before its release as Windows Server Virtualization, is a native hypervisor; it can create virtual machines on x86-64 systems running Windows. Starting with Windows 8, Hyper-V superseded Windows Virtual PC as the hardware virtualization component of the client editions of Windows NT. A server computer running Hyper-V can be configured to expose individual virtual machines to one or more networks. Hyper-V was first released with Windows Server 2008, and has been available without additional charge since Windows Server 2012 and Windows 8. A standalone Windows Hyper-V Server is free, but has a command-line interface only. The last version of free Hyper-V Server is Hyper-V Server 2019, which is based on Windows Server 2019. In this tutorial, we will earn, how to install Hyper-V on Windows Server.
Prerequisites
-
PowerShell with Administrator rights
-
Internet connectivity
Step 1. Login to your Windows Server
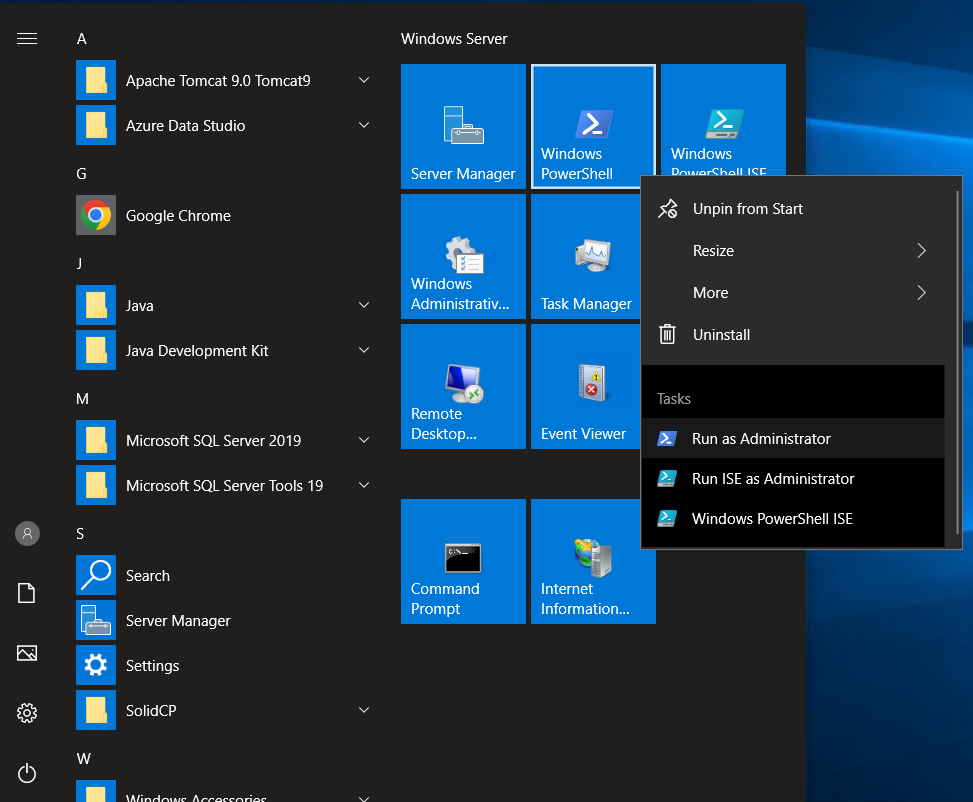
Step 2. Open PowerShell as an Administrator
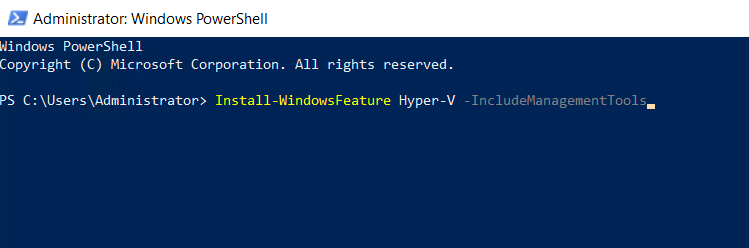
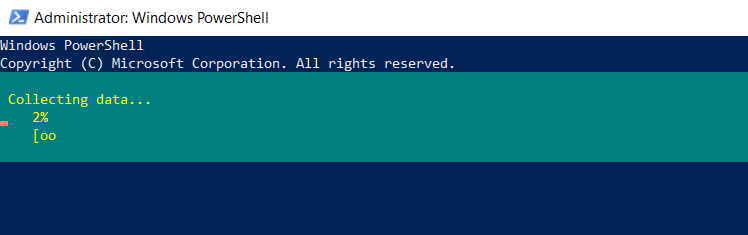
Step 3. Run the following command to install Hyper-V with Windows admin tools
Install-WindowsFeature Hyper-V -IncludeManagementTools
Step 4. Run the following command to restart the server after installing Containers
Restart-Computer -Force

Thank You!