How to install Active Directory Domain Service on Windows Server

INTRODUCTION
Active Directory Domain Services (AD DS) is a server role in Active Directory that enables administrators to control and store data from applications as well as network resource information in a distributed database. Administrators can control network components, including people and computing devices, and reorder them into a certain hierarchical structure with the use of AD DS. Incorporating security further is AD DS by authenticating logons and restricting access to directory resources. In this tutorial, we will learn how to install Active Directory Domain Service on Windows Servers 2012R2, 2016, 2019 and 2022.
To install Active Directory Domain Service via PowerShell, open PowerShell with Admin Privileges, and run the following command.
PS C:\Users\Administrator> Install-WindowsFeature -name AD-Domain-Services -IncludeManagementTools
Now, run the following command to restart the server to apply changes.
PS C:\Users\Administrator> Restart-Computer -Force
To install Active Directory Domain Service via Server Manager
Step 1. Open Server Manager and click Add roles and features.

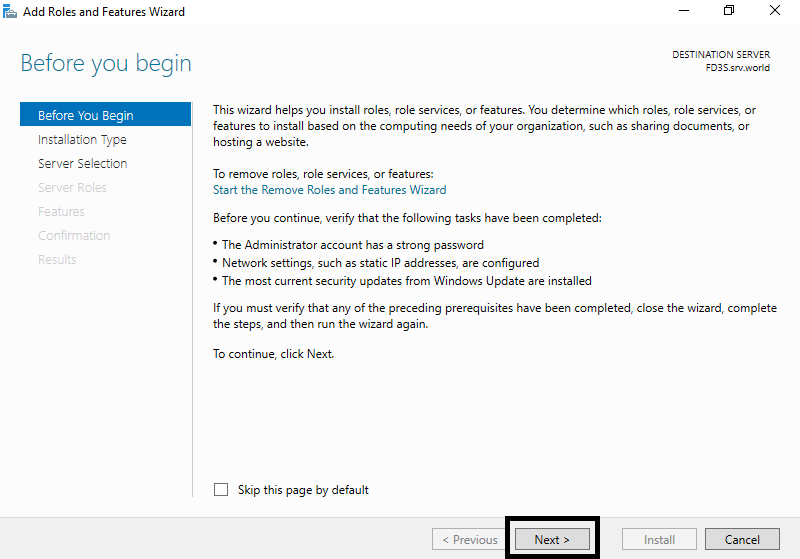
Step 2. Click Next
Step 3. Select Role-based or feature-based installation.

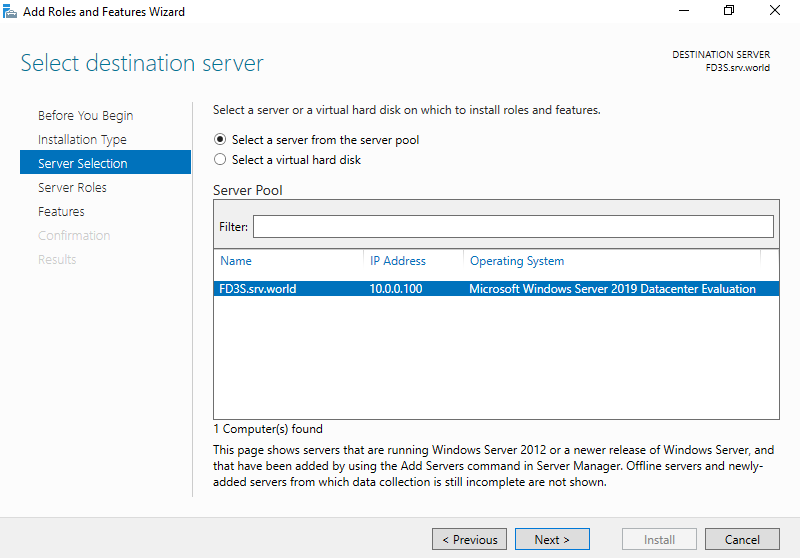
Step 4. Select a Host which you'd like to add services.
Step 5. Check a box Active Directory Domain Services.

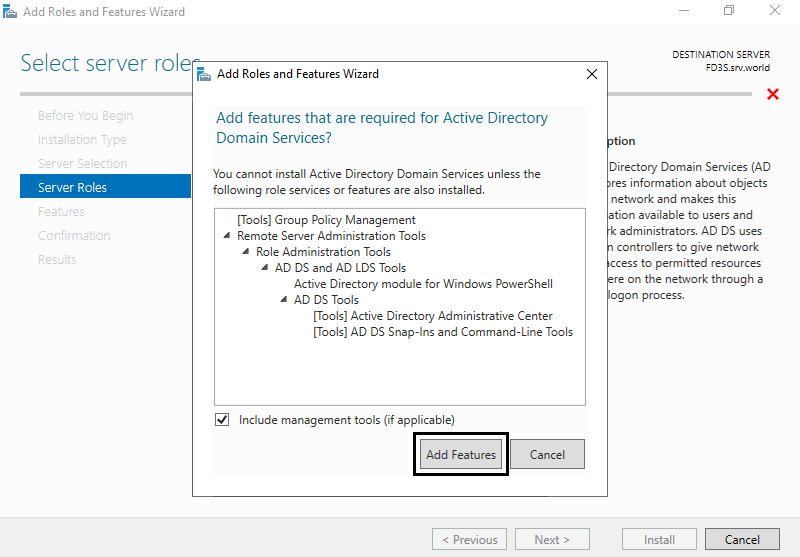
Step 6. Addtional features are required to add AD DS. Click Add Features button.
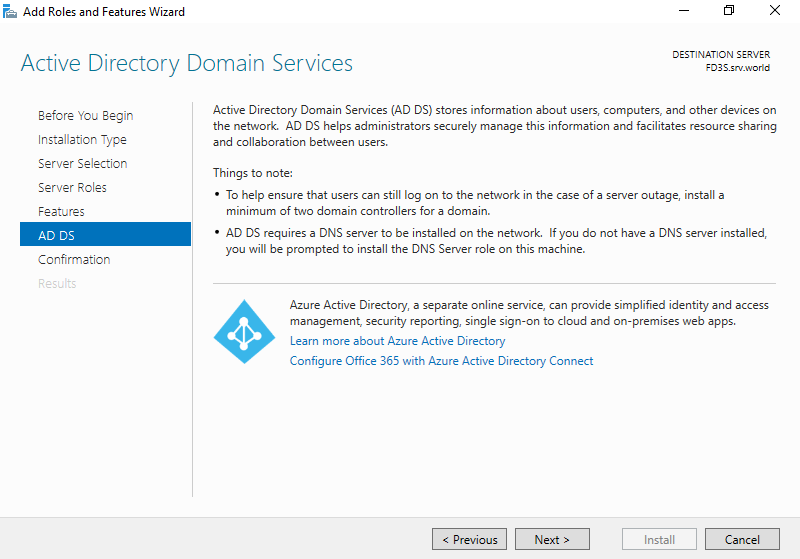
Step 7. Click Next.

Step 8. Click Next.
Step 9. Click Install.

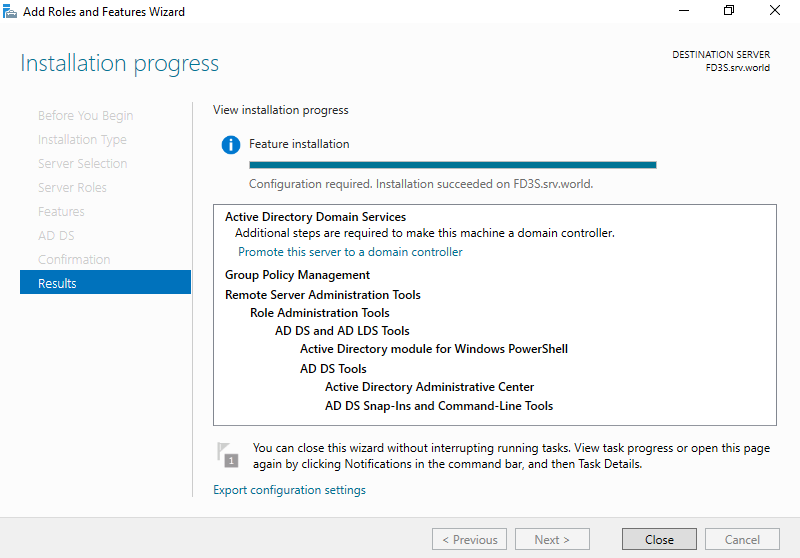
Step 10. After finishing Installation, click Close button.
Thank You!