How To Add a User and Grant Root Privileges on Ubuntu 18.04

Introduction
In this article you will learn, how to add a user and grant root privileges on Ubuntu 18.04.
A system administrator's duties can include adding users and giving them administrative access. Once a user is added and given root access, they will be able to log in to your Ubuntu VPS and execute system-level tasks. After that, they can issue commands with enhanced privileges by prefixing them with sudo. With this brief guide, you'll learn how to create a new user and give them administrative privileges.
Step 1: I will add a user that is microhost
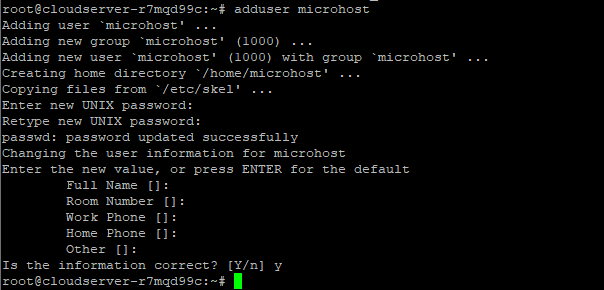
# adduser microhost
Enter the new value, or press ENTER for the default
Full Name []: press ENTER
Room Number []: press ENTER
Work Phone []: press ENTER
Home Phone []: press ENTER
Other []: press ENTER
Is the information correct? [Y/n] press y
Step 2: Grant Root Privileges to the User
# visudo
The above command takes us to the /etc/sudoers.tmp file, where we can see the code below:

After the line for the root user, you will add the same format for your new user. This will let us give that user admin rights.

Press "ctrl" and "x" together. Press "y" and then "enter" at the prompt to save and close the file.
Step 3: Verify User Has Privileges
If you've done everything right, this user will be able to run commands like update with the help of sudo:
# su - microhost
# sudo apt-get update
![]()
After entering the password, this is shown in the below terminal

conclusion
Hopefully, you have learned how to add a user and grant root privileges on Ubuntu 18.04.
Also read: How to prevent a user from login in Linux
Thank You 🙂