How to install phpMyAdmin on CentOS

Introduction
In this article we will learn how to install phpMyAdmin on CentOS. The database utility, phpMyAdmin, is used for managing MySQL databases through a graphical web-based interface. It can be configured to manage a local database (on the same system), or a remote database (over a network).
Prerequisites
- LAMP (Linux, Apache, MySQL, PHP) stack installed on the server. Install LAMP Stack
- Lamp stack is very vital for us to install phpmyadmin on CentOS.
- Access to a sudo user account with root privileges (ability to use the sudo command).
- The CentOS 7 operating system.
- The YUM update manager, which is a default component of CentOS 7.
- A command prompt with root access. To open a command prompt: Menu > Applications > Utilities > Terminal.
- A text editor. Vim is included with most Linux installations or you can use Nano.
Installation of phpMyAdmin
Step 1: Install EPEL Repository
Type the following at the command prompt, then hit enter:
sudo yum install -y epel-release
Once that operation finishes, it’s a good idea to refresh and update the EPEL repository:
sudo yum –y update
Step 2: Install Apache Web Server
yum install httpd -y
Verify the status of Apache by running with the command:
systemctl status httpd
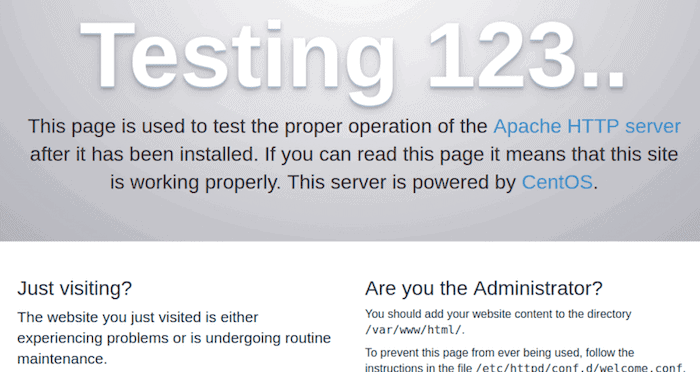
You can also enter your server’s IP address in a browser and a testing screen should display:
Step 3: Installing phpMyAdmin on CentOS 7
sudo yum -y install phpmyadmin
Step 4: Configuring and Securing phpMyAdmin
Your new software installation includes a default Apache configuration file. You’ll want to make some changes to that configuration to prevent unauthorized access. Here are two common ways of restricting access to unauthorized users.
Restrict IP Addresses
This method can be used to grant remote access to a single workstation. By default, phpMyAdmin is configured so that the server it’s installed on has access. This change lets you allow or restrict access to specific IP addresses of different or additional computers.
The file is located at /etc/httpd/conf.d/phpMyAdmin.conf. Type the following at your command prompt:
sudo vim /etc/phpMyAdmin/config.inc.php
Inside the config file, you should see four (4) lines that refer to “Require IP” or “Allow IP.” By default, they should be set to 127.0.0.1, which is the IP address referring to the system you are working on. To allow other systems to access this phpMyAdmin application, add (or change) these numbers to the IP address of the computer you want to grant access to.
Once you’ve made the changes, save the file.
Change Alias
Open phpMyAdmin.conf using a text editor:
sudo vim /etc/phpMyAdmin/config.inc.php
Near the top, you should see two lines:
Alias /phpMyAdmin /usr/share/phpMyAdmin
Alias /phpmyadmin /usr/share/phpMyAdmin
“Alias” is how the internet will see your phpMyAdmin configuration.
Since the default configuration is an easy target for bots and hackers, consider changing the alias setting.
Just put a ‘#’ sign before the existing entries so the program sees them as comments, rather than instructions. Then add your own line:
Alias /MySecretLogin /usr/share/phpMyAdmin
Now, when you go to your login screen, you’ll have to type https://IP_OR_DOMAIN/MySecretLogin (or whatever you choose) to gain access.
Step 5: Restart Apache
sudo systemctl restart httpd.service
Step 6: Verify phpMyAdmin is Working
To check if phpMyAdmin is working correctly, enter your servers IP and /phpmyadmin in a web browser. For example:
125.0.0.2/phpmyadmin
You should see the PhpMyAdmin login screen.
Thank You!