How to install SSL on Ubuntu with Apache2

How to install SSL on Ubuntu with Apache2
What is SSL
Before learning how to install SSL on Ubuntu with Apache2. Let's first learn that SSL, or Secure Sockets Layer, is an Internet security technology based on encryption. It was created by Netscape in 1995 to provide privacy, authentication, and data integrity for Internet interactions. SSL is the forerunner of the current TLS encryption protocol.
A certificate that is self-signed will encrypt communications between your server and any clients. Users cannot use the certificate to automatically authenticate the identity of your server, since it is not certified by any of the trustworthy certificate authorities available in web browsers.
If you do not have a domain name linked with your server and the encrypted web interface is not user-facing, a self-signed certificate may be suitable.
Prerequisites:
- apt command should be working to install packages
- Internet should be working on the machine
- Super user or normal user with SUDO privileges
OS and other important files:
- We have used Ubuntu with Apache2 service
- Default Configuration file: /etc/apache2/apache.conf
- SSL Virtual Host file: /etc/apache2/sites-available/default-ssl.conf
Steps to install the SSL:
Step 1: Install the Apache2 server on your Ubuntu server using the below command.
[console ]apt install apache2 -y[/console]
Step 2: Start the Apache2 service on your server so that you can use it
systemctl start apache2
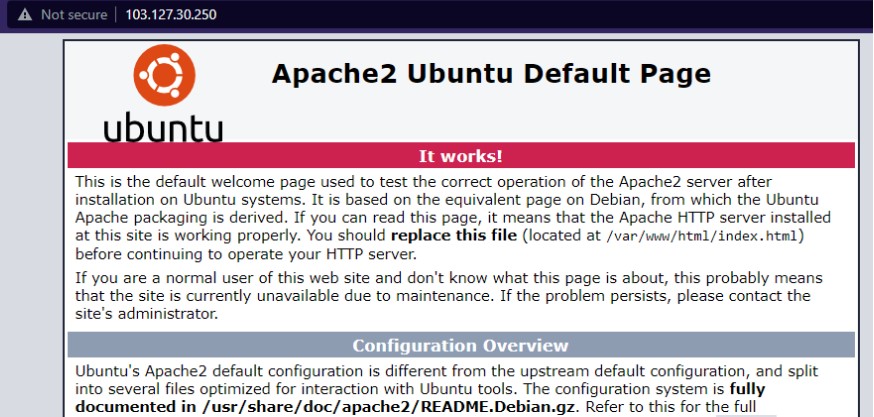
Step 3: Now to check whether your apache service is running fine or not, go to browser and search your server ip as shown below
Step 4: Now if we want to test apache server with a sample source code. Go to the /var/www/html directory and create an index. html file and paste the content shown in the below screenshot.
vim /var/www/html/index.html

Step 5: Now generate the CSR and private key files using below command
openssl req -new -newkey rsa:2048 -nodes -keyout domain.com.key -out domain.com.csr
Note:
- Here you will be asked to enter a few details. So please enter them as you want.
- Above command will generate the csr and private key in the present working directory
- In common name, for the subdomain, you must include an asterisk if you are requesting a unique wildcard SSL certificate. In such scenario, *.mydomain.com may serve as an example. Never enter any special characters in this area, including "http://", "https://", or any other variation. Never add text after the top-level domain. Your common name, for instance, should finish in.com,.net, or the other extension you are requesting.
Congratulations, a CSR file has been generated.
When getting an SSL certificate, you must copy and paste the whole contents of the CSR file to your Certificate Authority.
The lines that say "BEGIN CERTIFICATE REQUEST" and "END CERTIFICATE REQUEST" must be included.
Step 6: Download the validation file from the SSL panel.
Step 7: After getting the validation file,
Step 7.1: Your SSL/TLS site's primary configuration file for the Ubuntu server with Apache2 is normally located in /etc/apache2/sites-enabled/default-ssl.conf
Run the command below if it isn't in the "sites-enabled" directory.
a2ensite default-ssl.conf
Now identify the below lines and make sure to have these changes in your default conf file of the website.
vim /etc/apache2/sites-enabled/default-ssl.conf
<VirtualHost *:443> DocumentRoot /var/www/path_to_source_code SSLEngine on SSLCertificateFile /path/to/your_domain_name.crt SSLCertificateKeyFile /path/to/your_private.key</VirtualHost>
Note:
- Value of SSLEngine should be - ‘on’
- In line SSLCertificateFile should be the path of ssl certificate
In the next line, SSLCertificateKeyFile, mention the path of key file of the SSL- In some case, you can receive an error "Certificate Chain is incomplete, missing Certificate(s)", in this case, follow this extra step.
Append another line- SSLCertificateChainFile /path/to/gd.bunddle.crt
Step 8: Now run these following commands to reflect the SSL Certificate on your server and reload the Apache2 service
a2enmod ssl
Note: please mention here the ssl conf file which you used in your server
systemctl restart apache2
Step 9: Now Restart the apache service and go to your browser and browse https://server_Ip
Now click on advance, and then "proceed to...(unsafe)"

ssl installed domain
In this tutorial, you have learned how to install SSL on Ubuntu with Apache2
Also Read: Install SSL on Ubuntu server using Nginx, How to install SSL on CentOS-7.3 with httpd server