How to Install CyberPanel on CentOS 7
Introduction
CyberPanel is an open-source and free web hosting control panel powered by OpenLiteSpeed. It helps reduce resource usage as a performance benefit. This is why CyberPanel is different from other control panels. Cyberpanel is available both in free and enterprise versions. OpenLiteSpeed is used by the free version, and the enterprise version uses LSWS.
How to Install
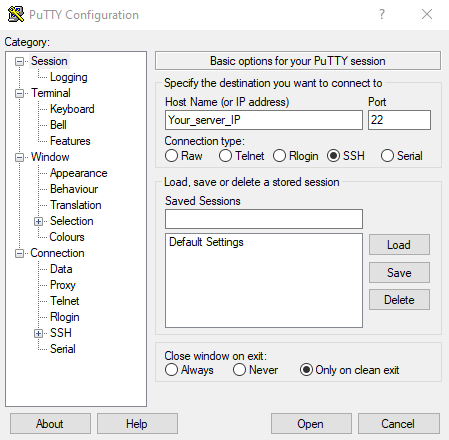
Step 1: Login to your server via SSH
**Step 2: Firstly, update the packages installed on your system by running:
**
# yum update –y
Step 3: Since CyberPanel is free, you do not have to prepare any kind of license, and you can install it using the following command:
# sh <(curl `[https://cyberpanel.net/install.sh](https://cyberpanel.net/install.sh)` || wget `-O - [https://cyberpanel.net/install.sh](https://cyberpanel.net/install.sh)`)

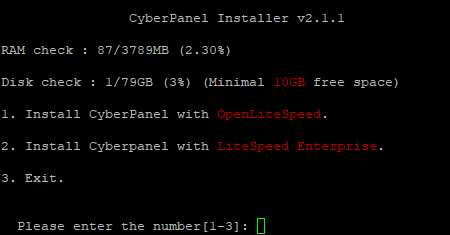
**Step 4: Next you will see "CyberPanel Installer v2.1.1".
**Press 1 and hit enter.

Step 5: Now, the installer will show you the RAM and disk requirements to install CyberPanel
Press 1 and hit enter to install CyberPanel with OpenLiteSpeed
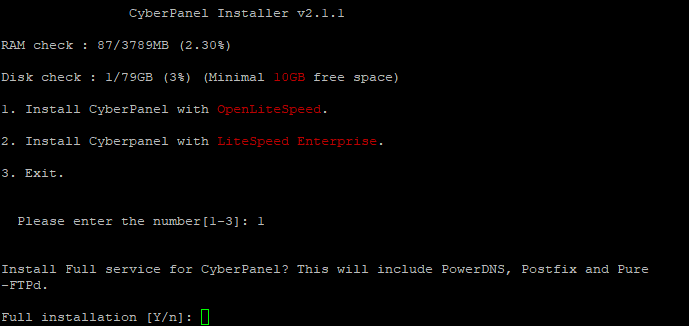
Step 6: Next comes a prompt to install the full service for CyberPanel, which includes PowerDNS, Postfix, and Pure-FTPd.
Press y and hit enter
Step 7: Next comes a prompt to setup Remote MySQL.
Press n and hit enter.

Step 8: Next comes a prompt to select the version of the CyberPanel that you want to install.
Just hit enter to continue with the latest version.

Step 9: Next comes a prompt to choose a password.
You can choose the default password, a randomly generated password or specify the admin password
You can press d to choose the default password (which is 1234567)
Or you can press r to choose a randomly generated password
Or you can press s to specify the admin password
In this article, we’re choosing the default password. So, we will press d and hit enter
The admin password will be set to 1234567.

Step 10: Next comes a prompt to install the Memcached process and its PHP extension.
Press Y and hit Enter.

Step 11: Next comes a prompt to install the Redis process and its PHP extensions.
Press y and hit Enter.
![]()
Step 12: Next it will ask if you want to kill the watchdog.
Press Y (capital Y)and hit enter
Installation will begin.

Step 13: After the installation is complete, it will ask you to restart the server.
Press y and hit enter to restart the server
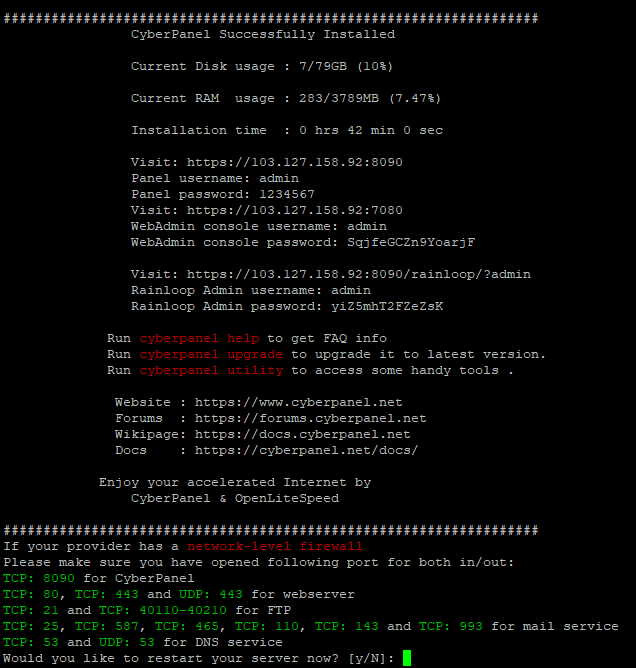
Putty closes once you restart the server.
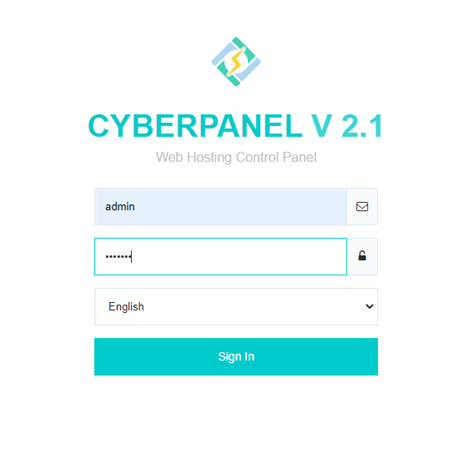
**Step 14: Access your CyberPanel by hitting Your_Server_IP:8090 in your browser.
**
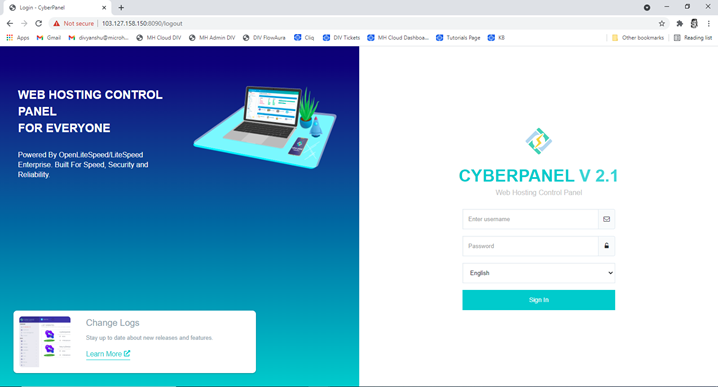
Use default login credentials.
Enter username: admin
Enter password: 1234567
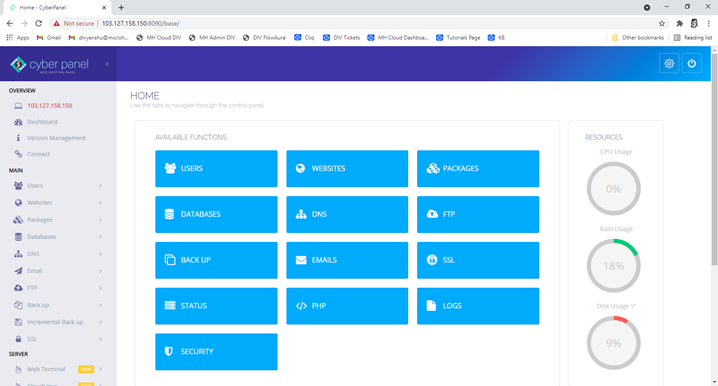
You’ve entered your CyberPanel.
How to configure Firewall on CyberPanel
Firewall rules define what type of Internet traffic is allowed or blocked. You can verify the OS firewall and the Vultr firewall are both open for inbound and outbound on the following ports:
1_ TCP: 8090 for CyberPanel
2_ TCP: 80, TCP: 443, and UDP: 443 for the webserver
3_ TCP: 21 and TCP: 40110-40210 for FTP
4_ TCP: 25, TCP: 587, TCP: 465, TCP: 110, TCP: 143, and TCP: 993 for mail service
5_ TCP: 53 and UDP: 53 for DNS service
Thank you.